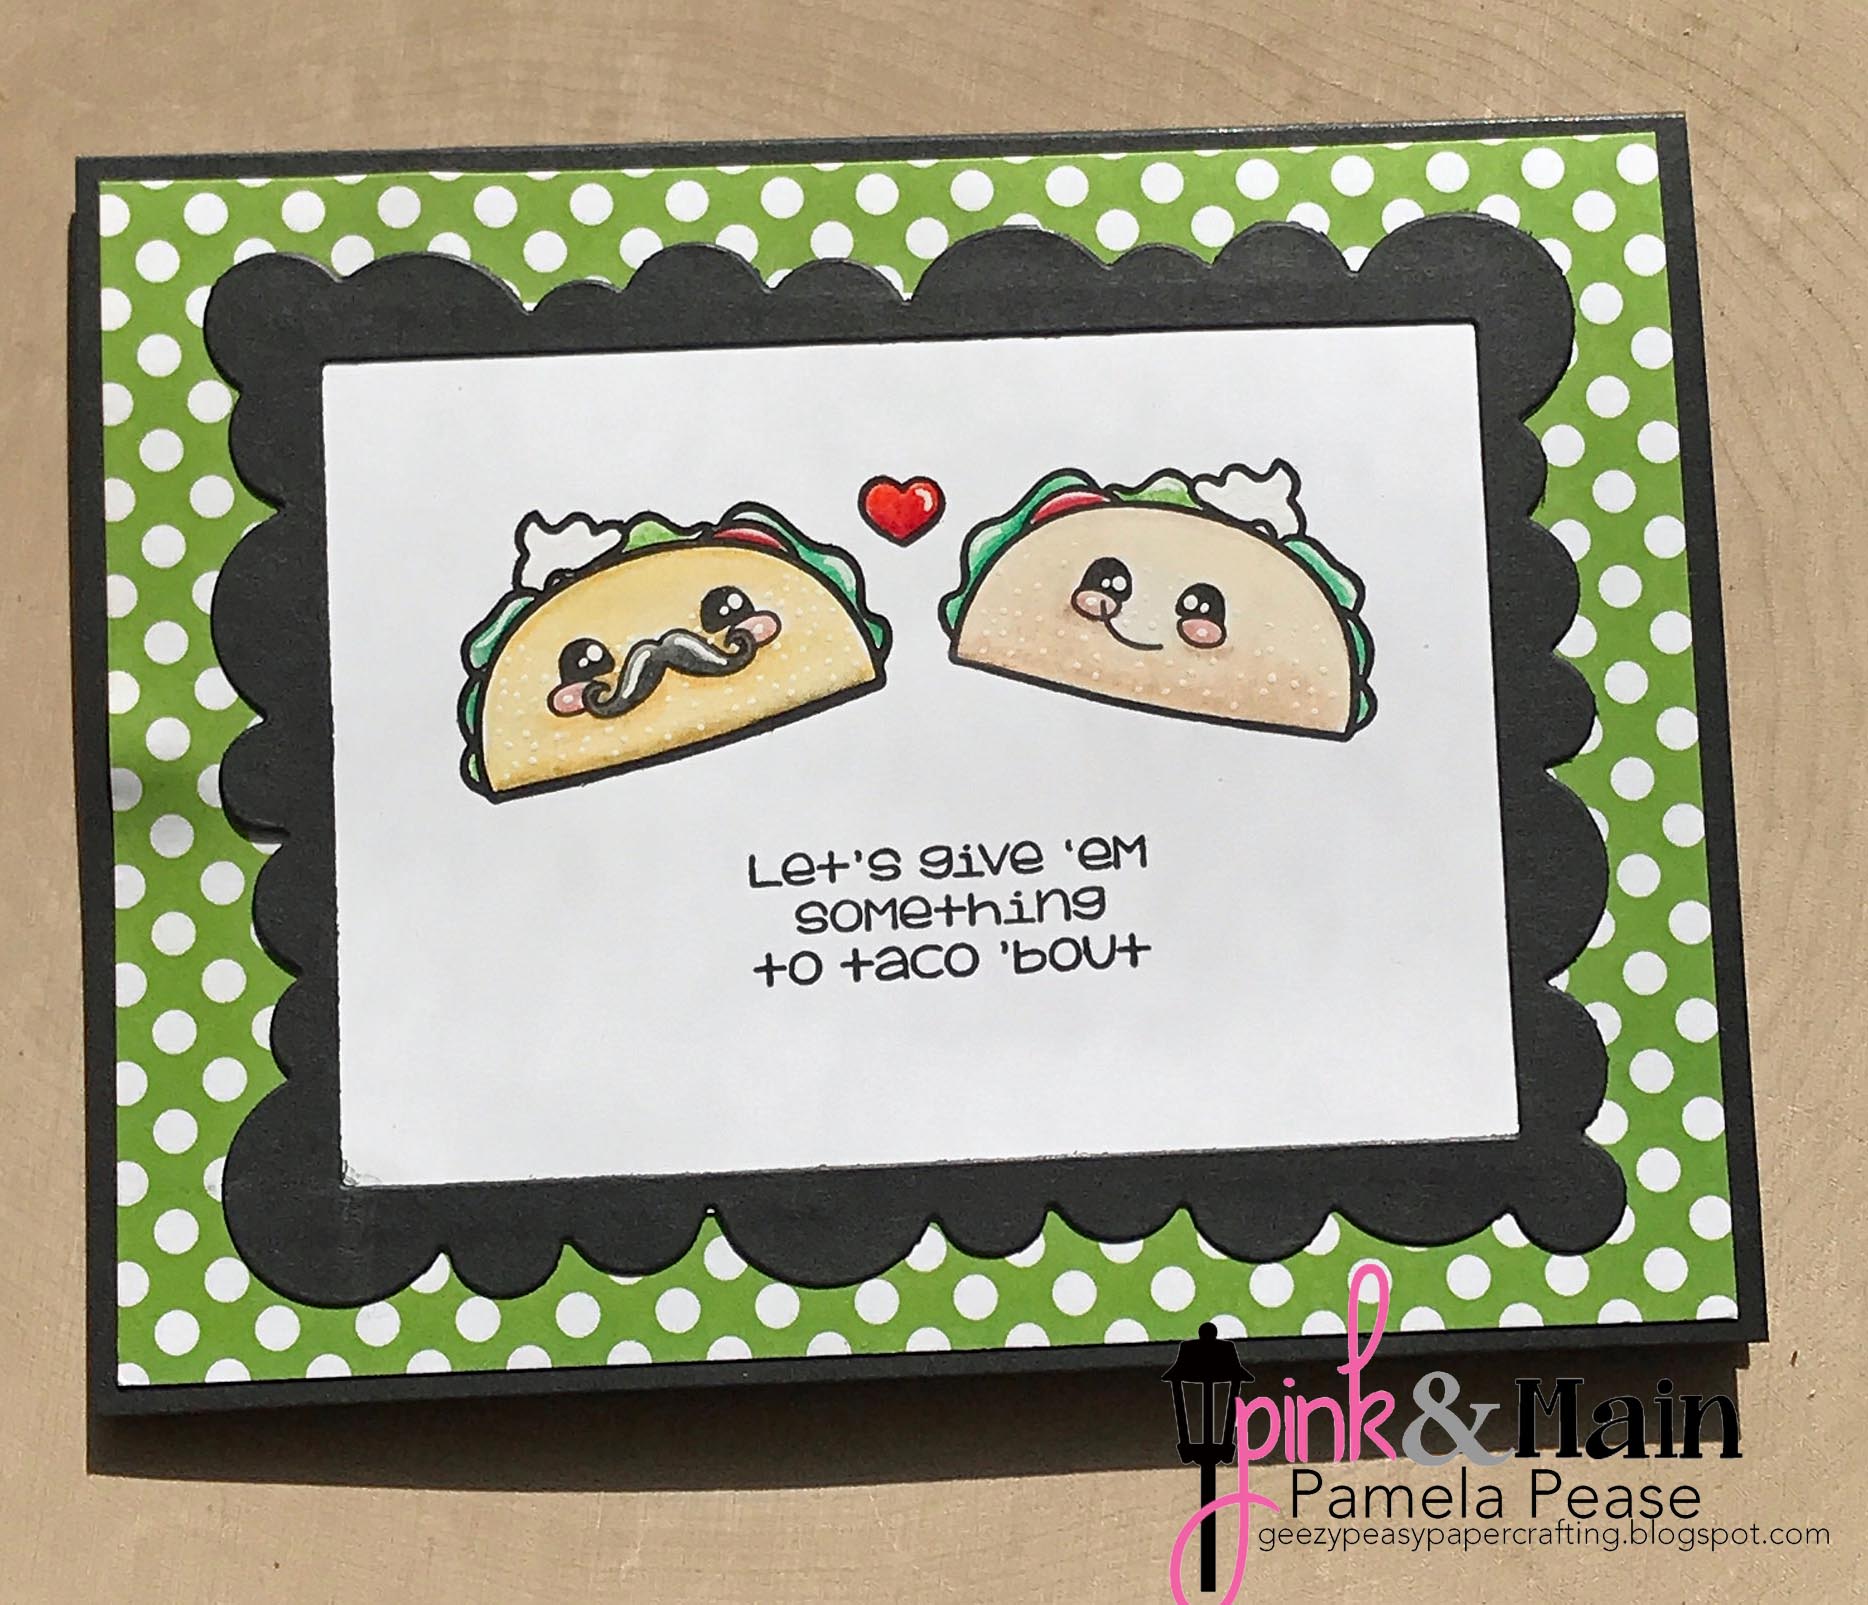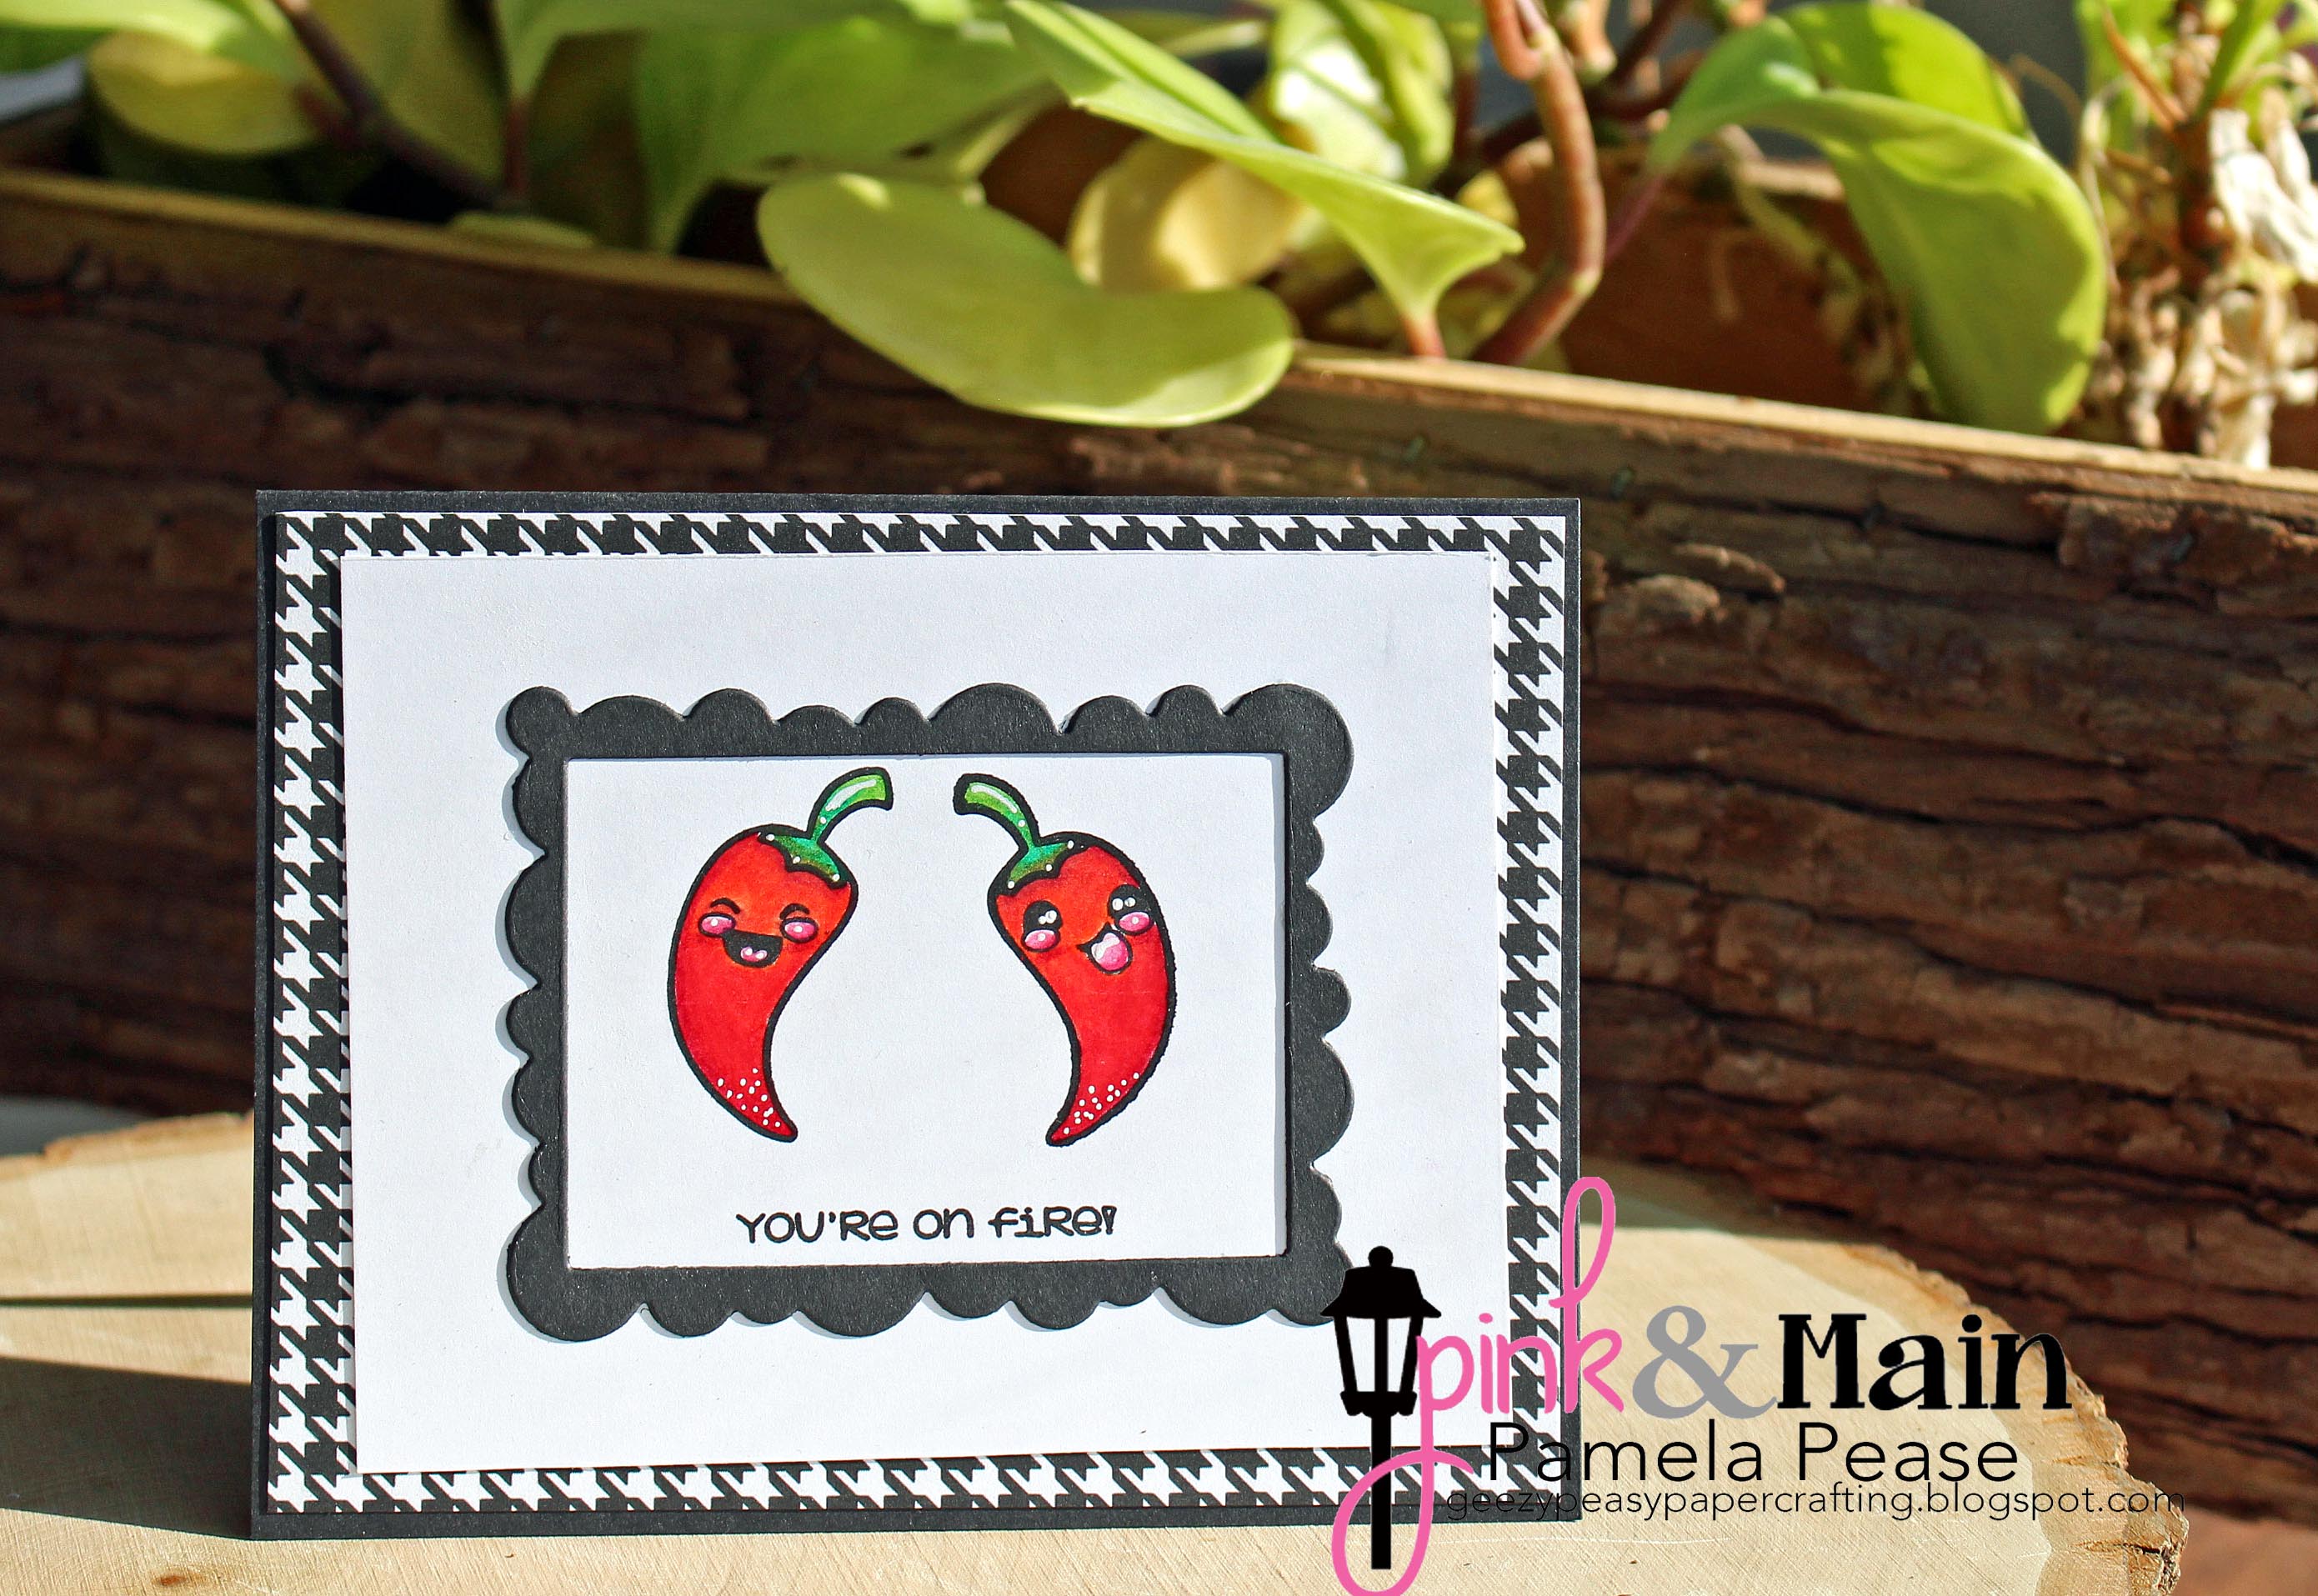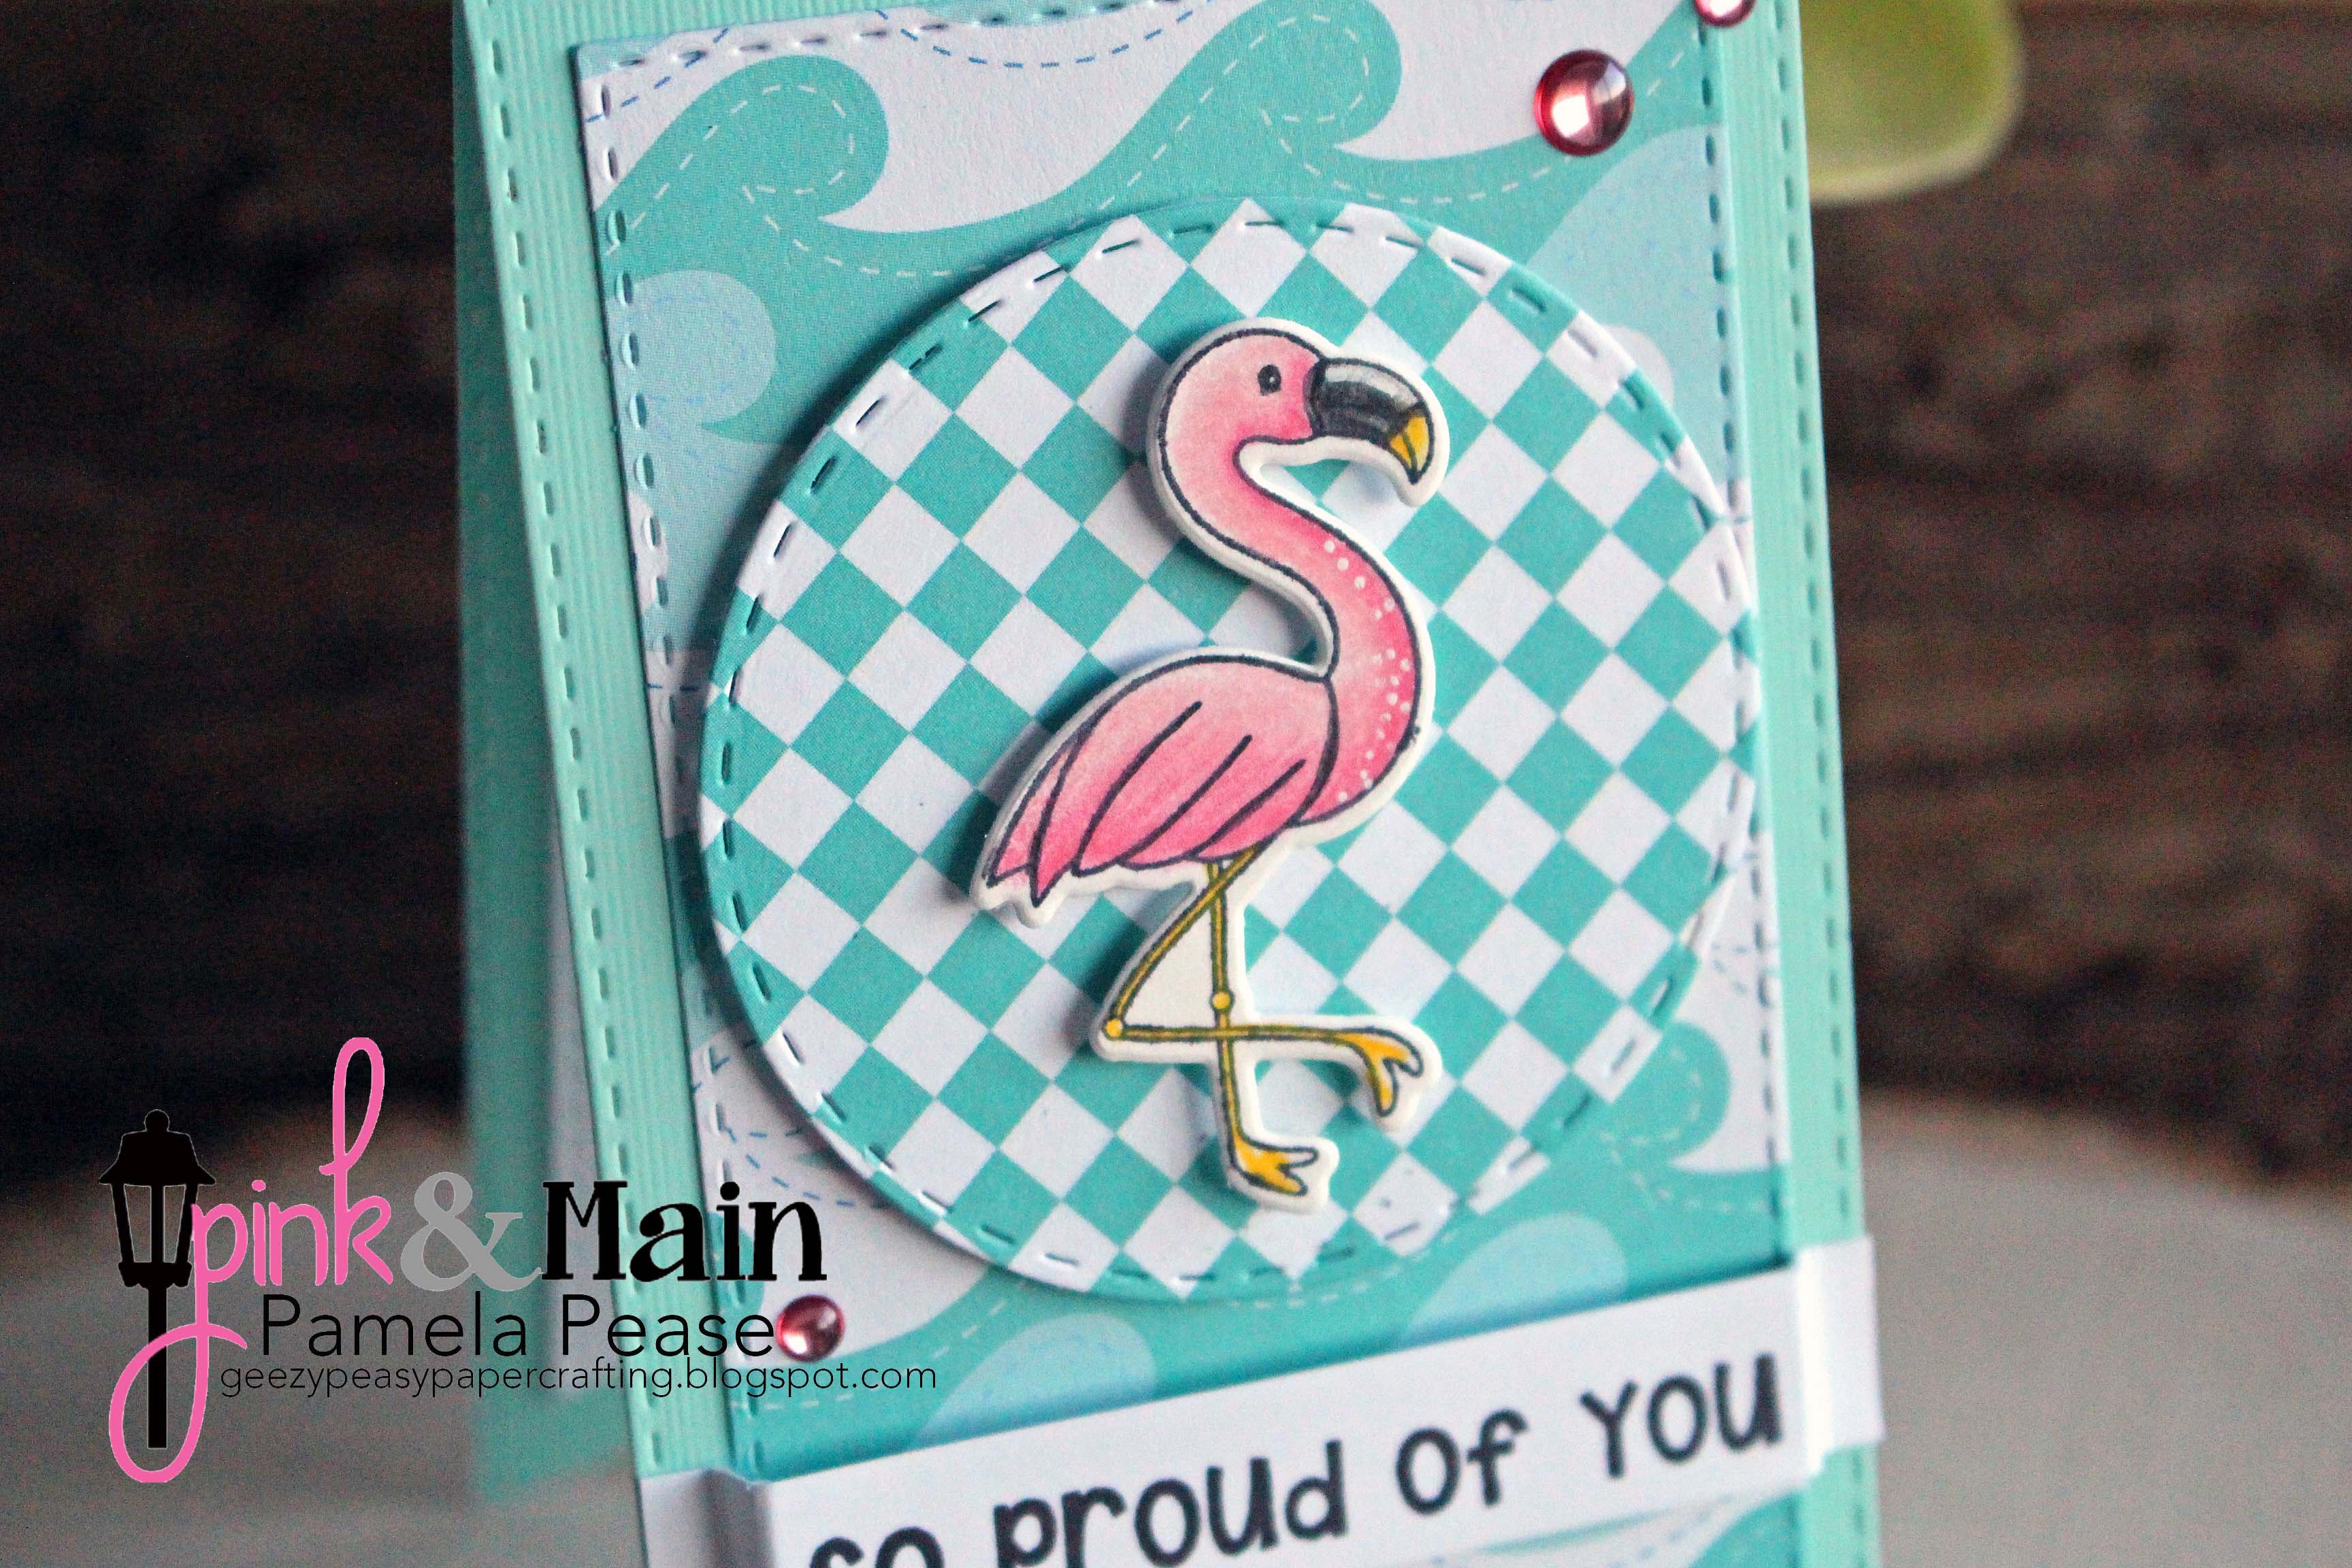
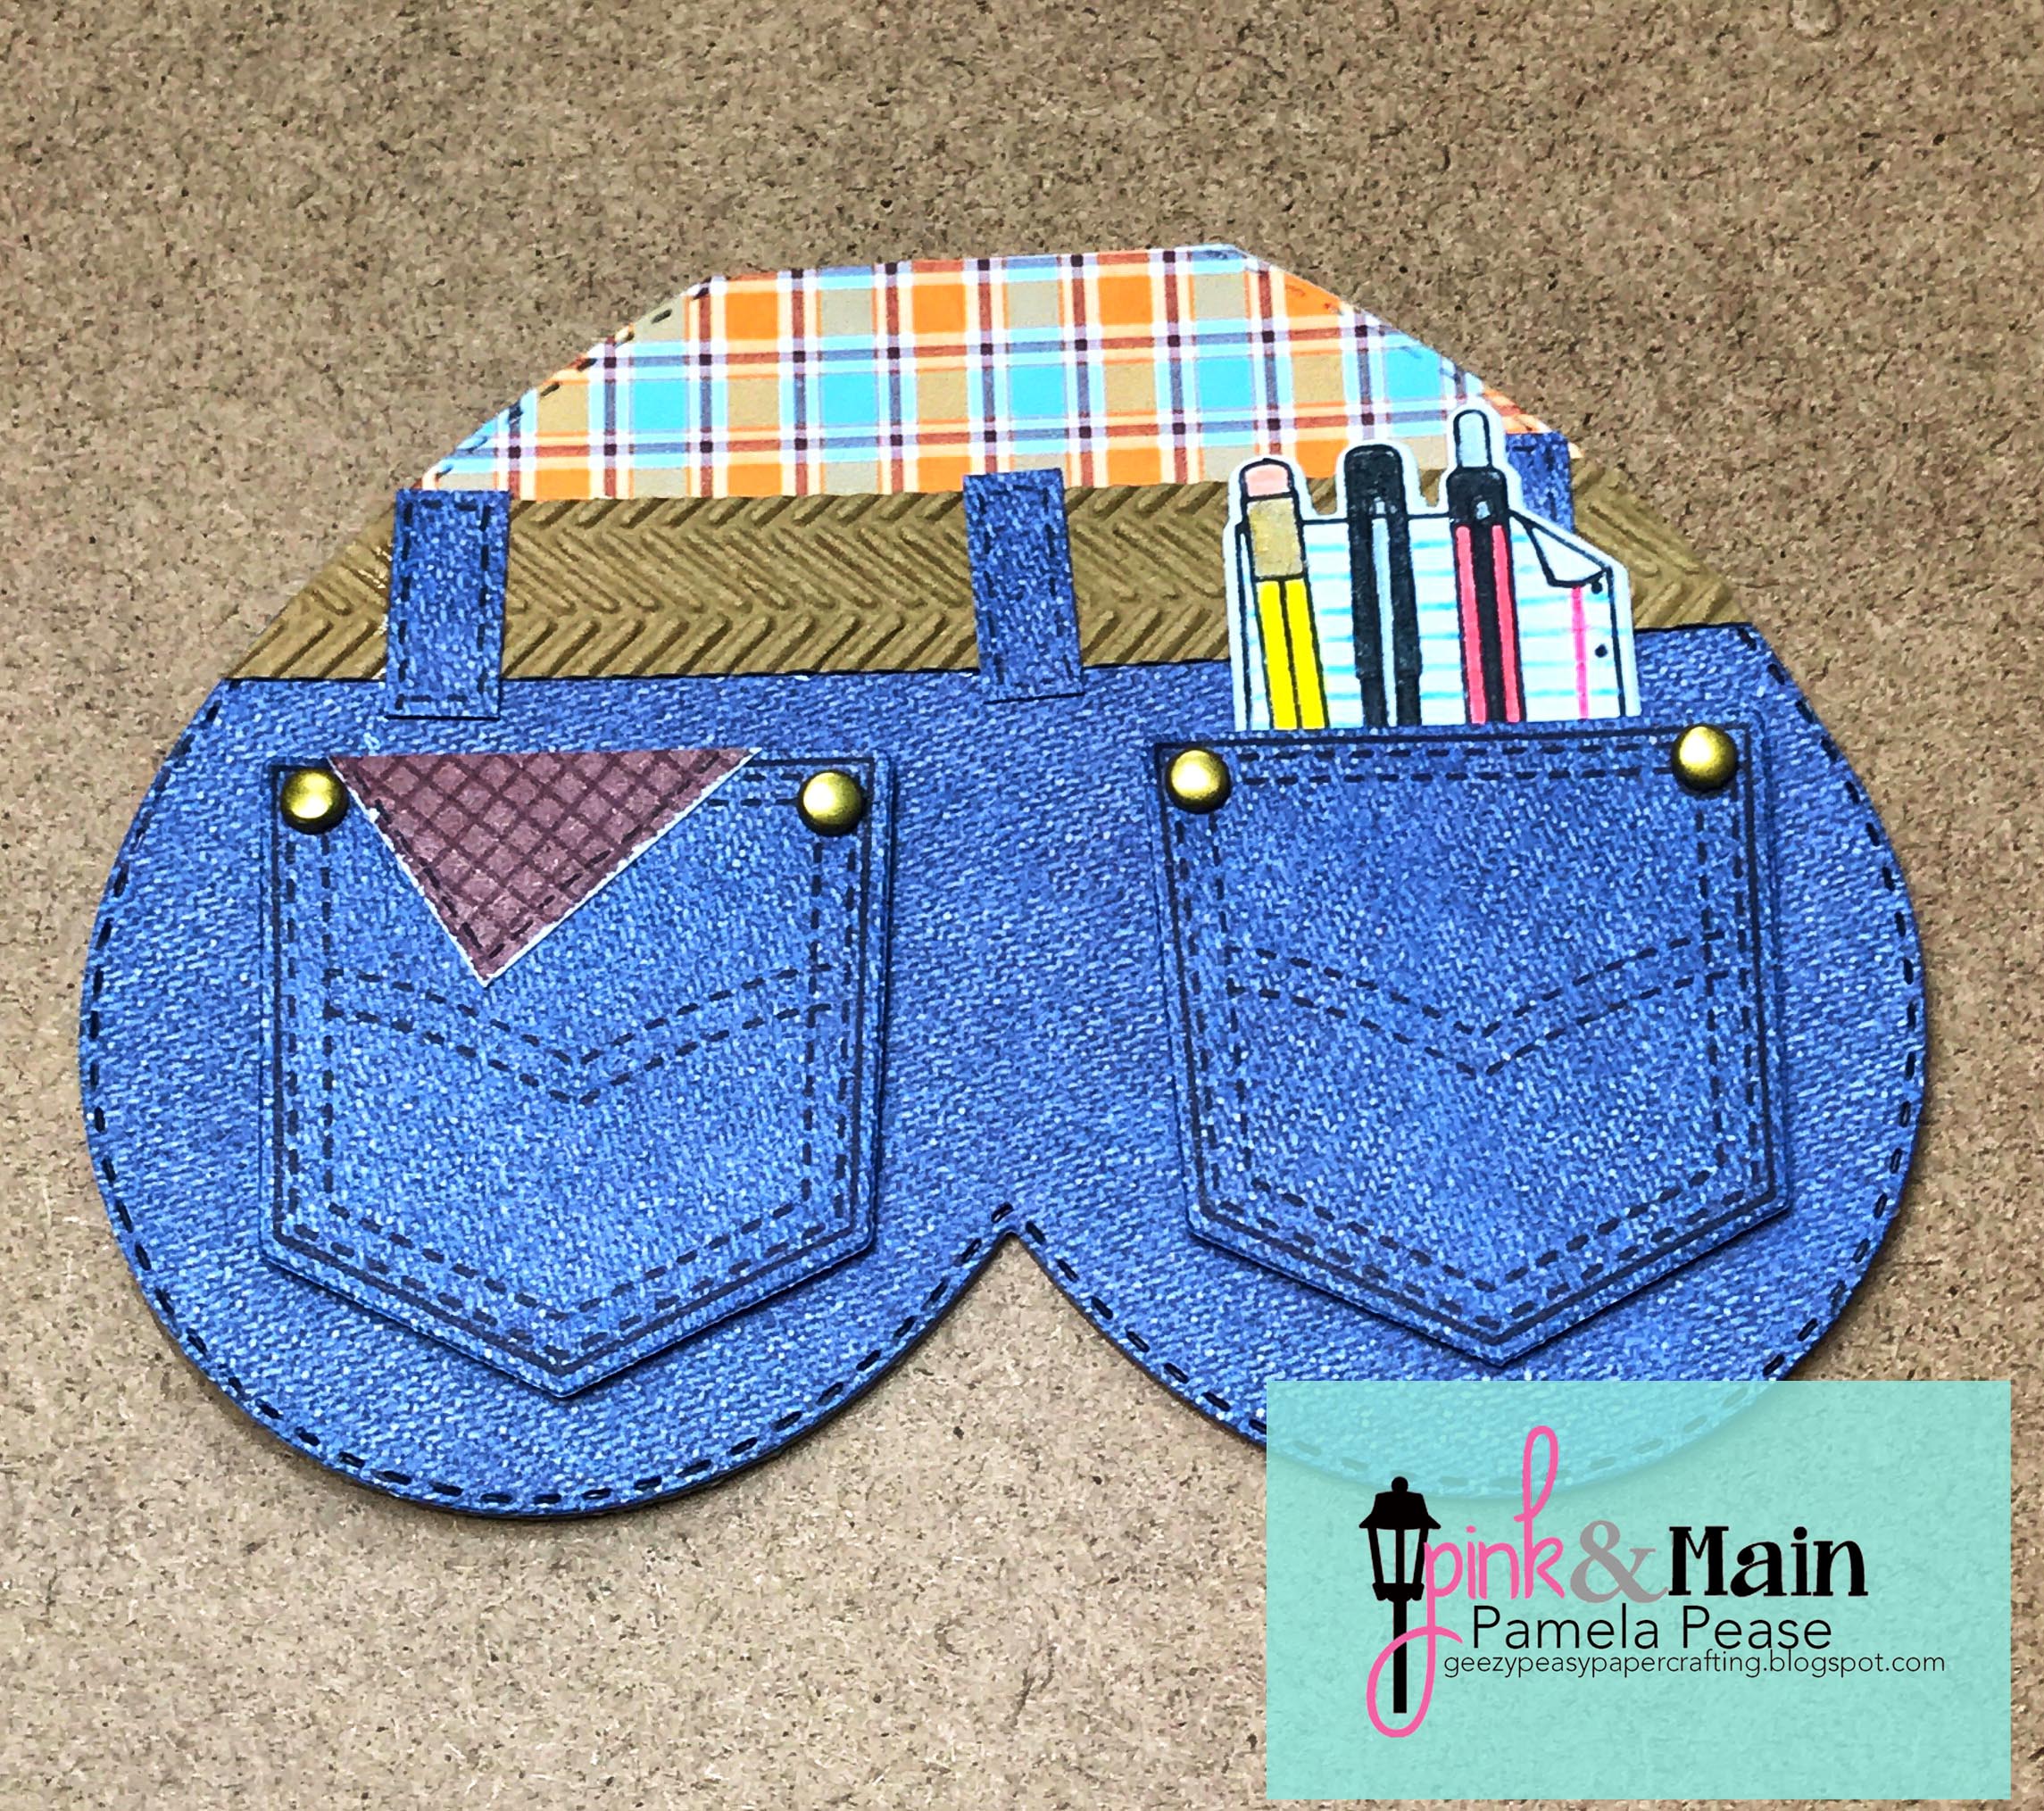
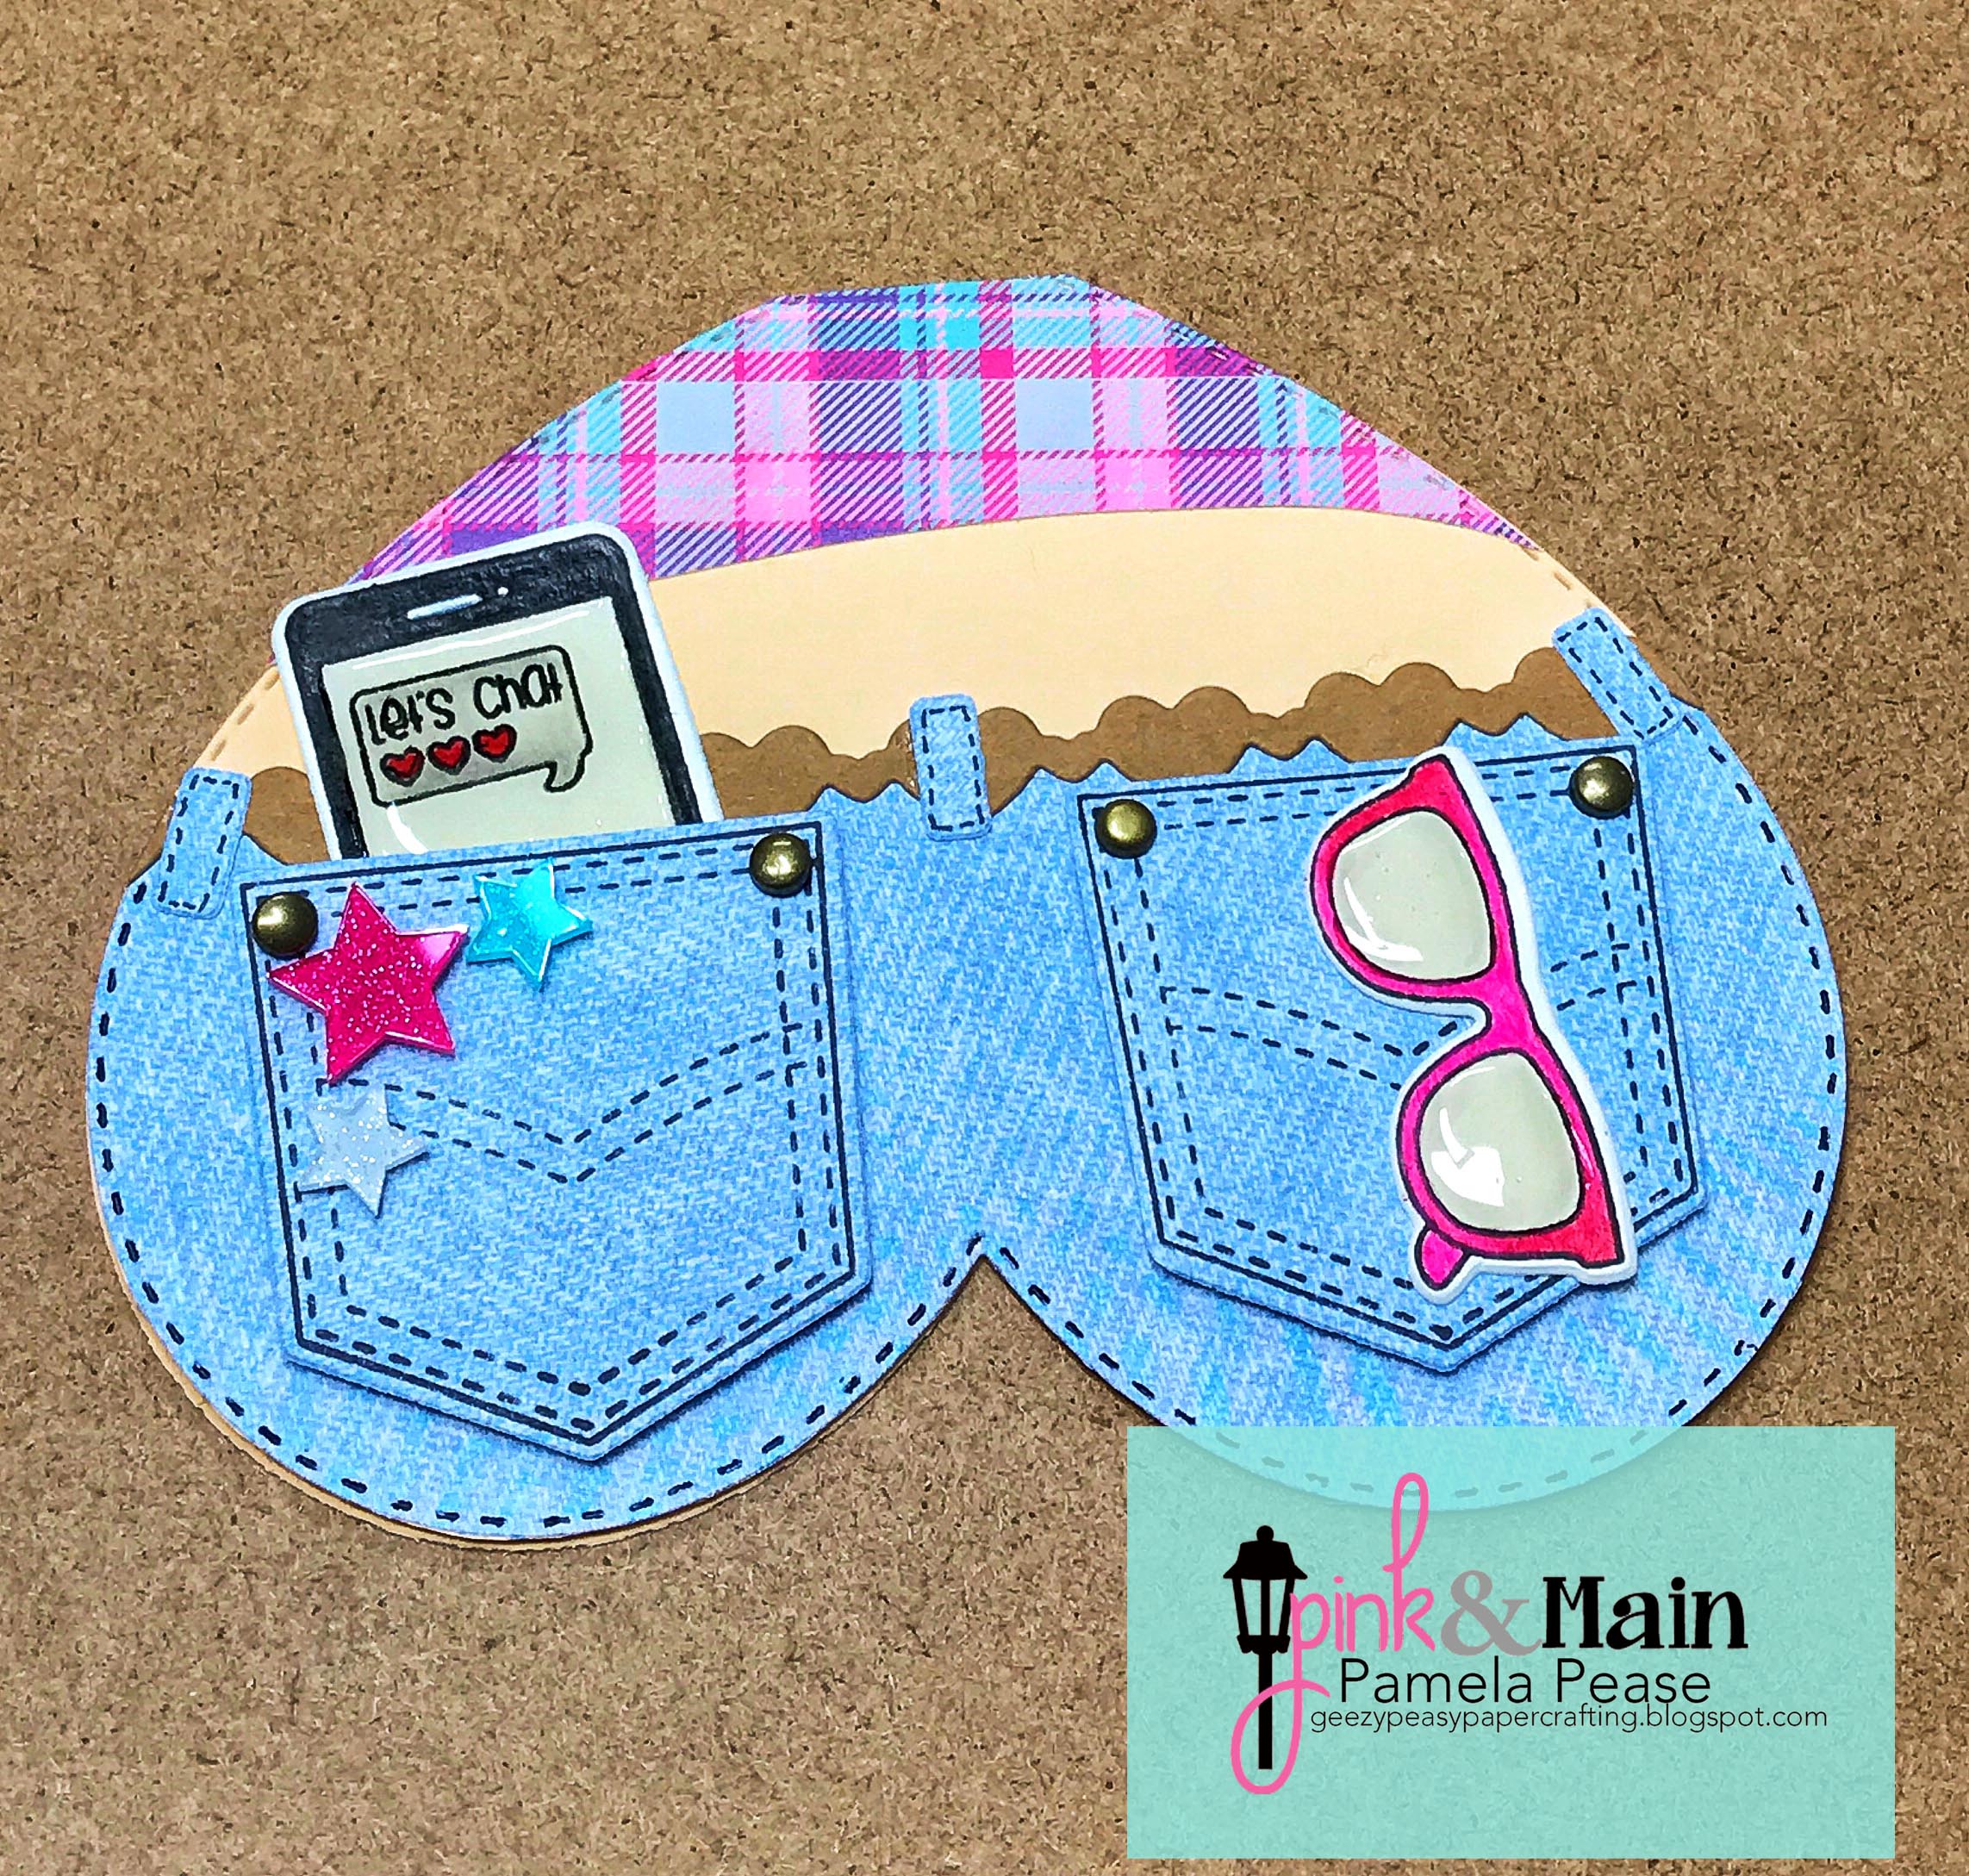
I am here today to share two cards using the new fab pocket stamp set, Pocket Full of Sunshine by Pink and Main Stamps. I had a little too much fun with these. I sat down to play with them and I just started thinking about how cute these would look as actual pockets on a pair of jeans. Then I set out to figure out how to make that happen...our new heart dies! So was born two "cheeky" cards! Details are below, including a list of products used.
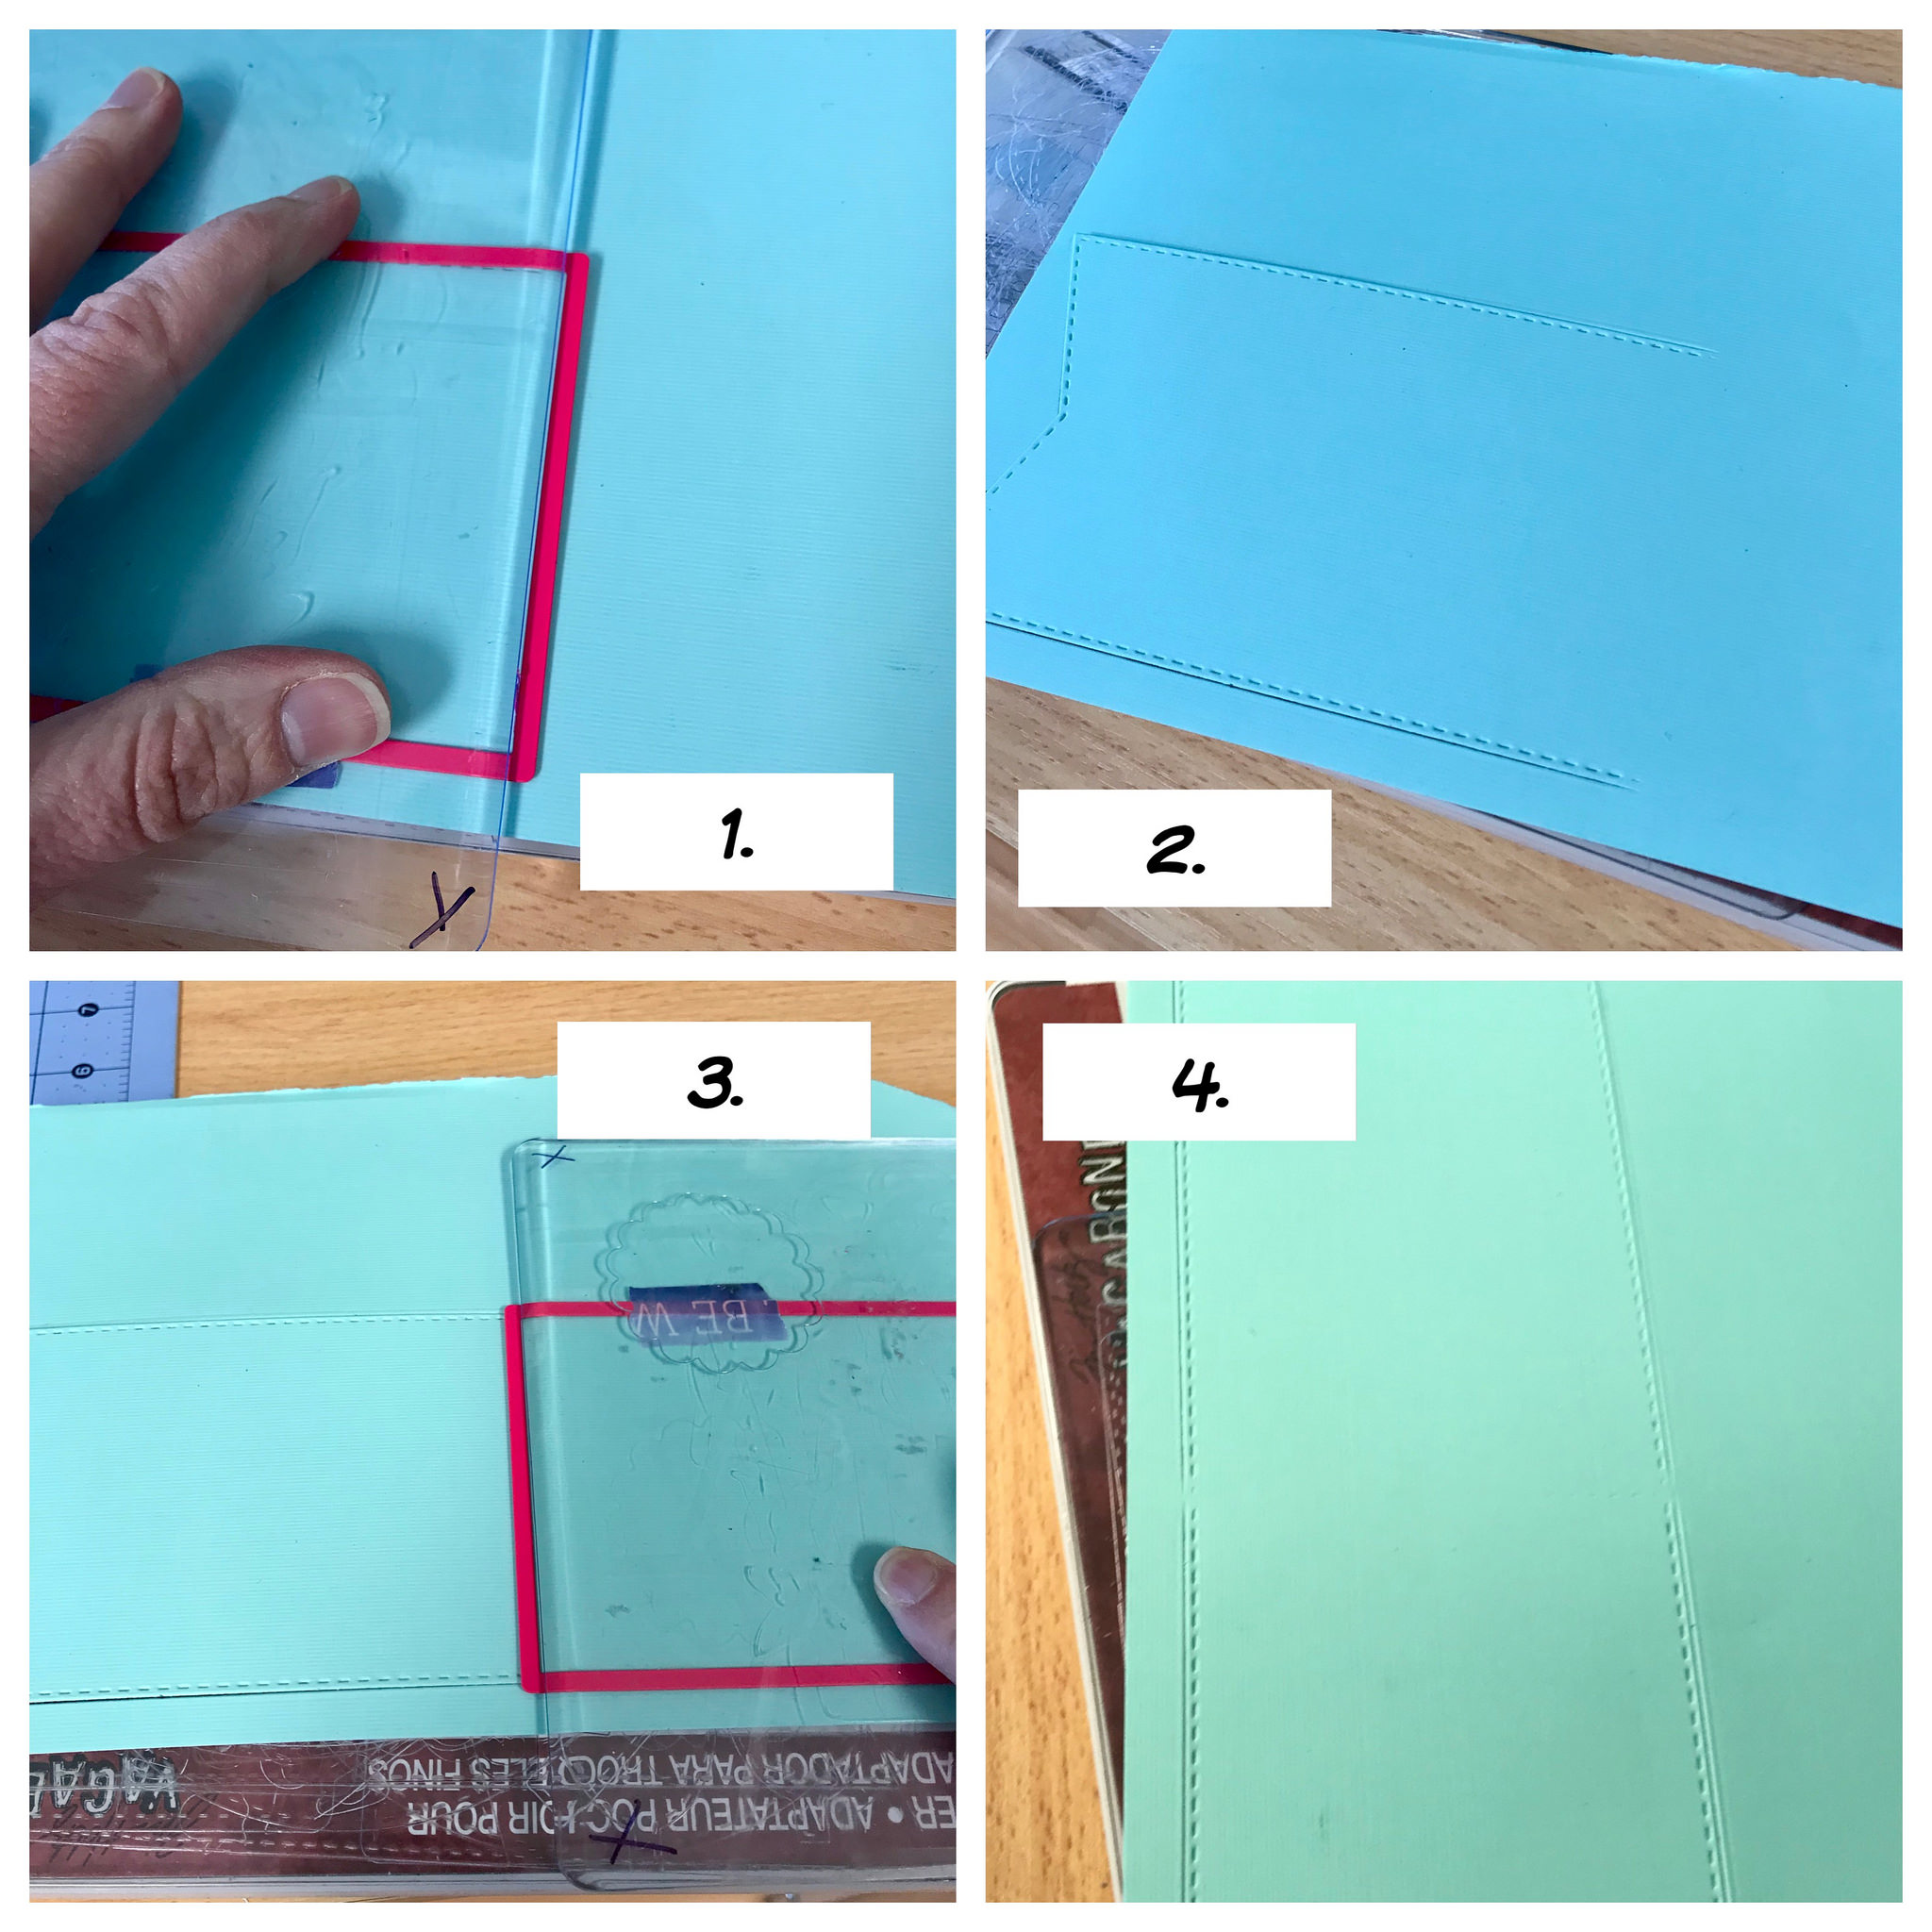
My Process
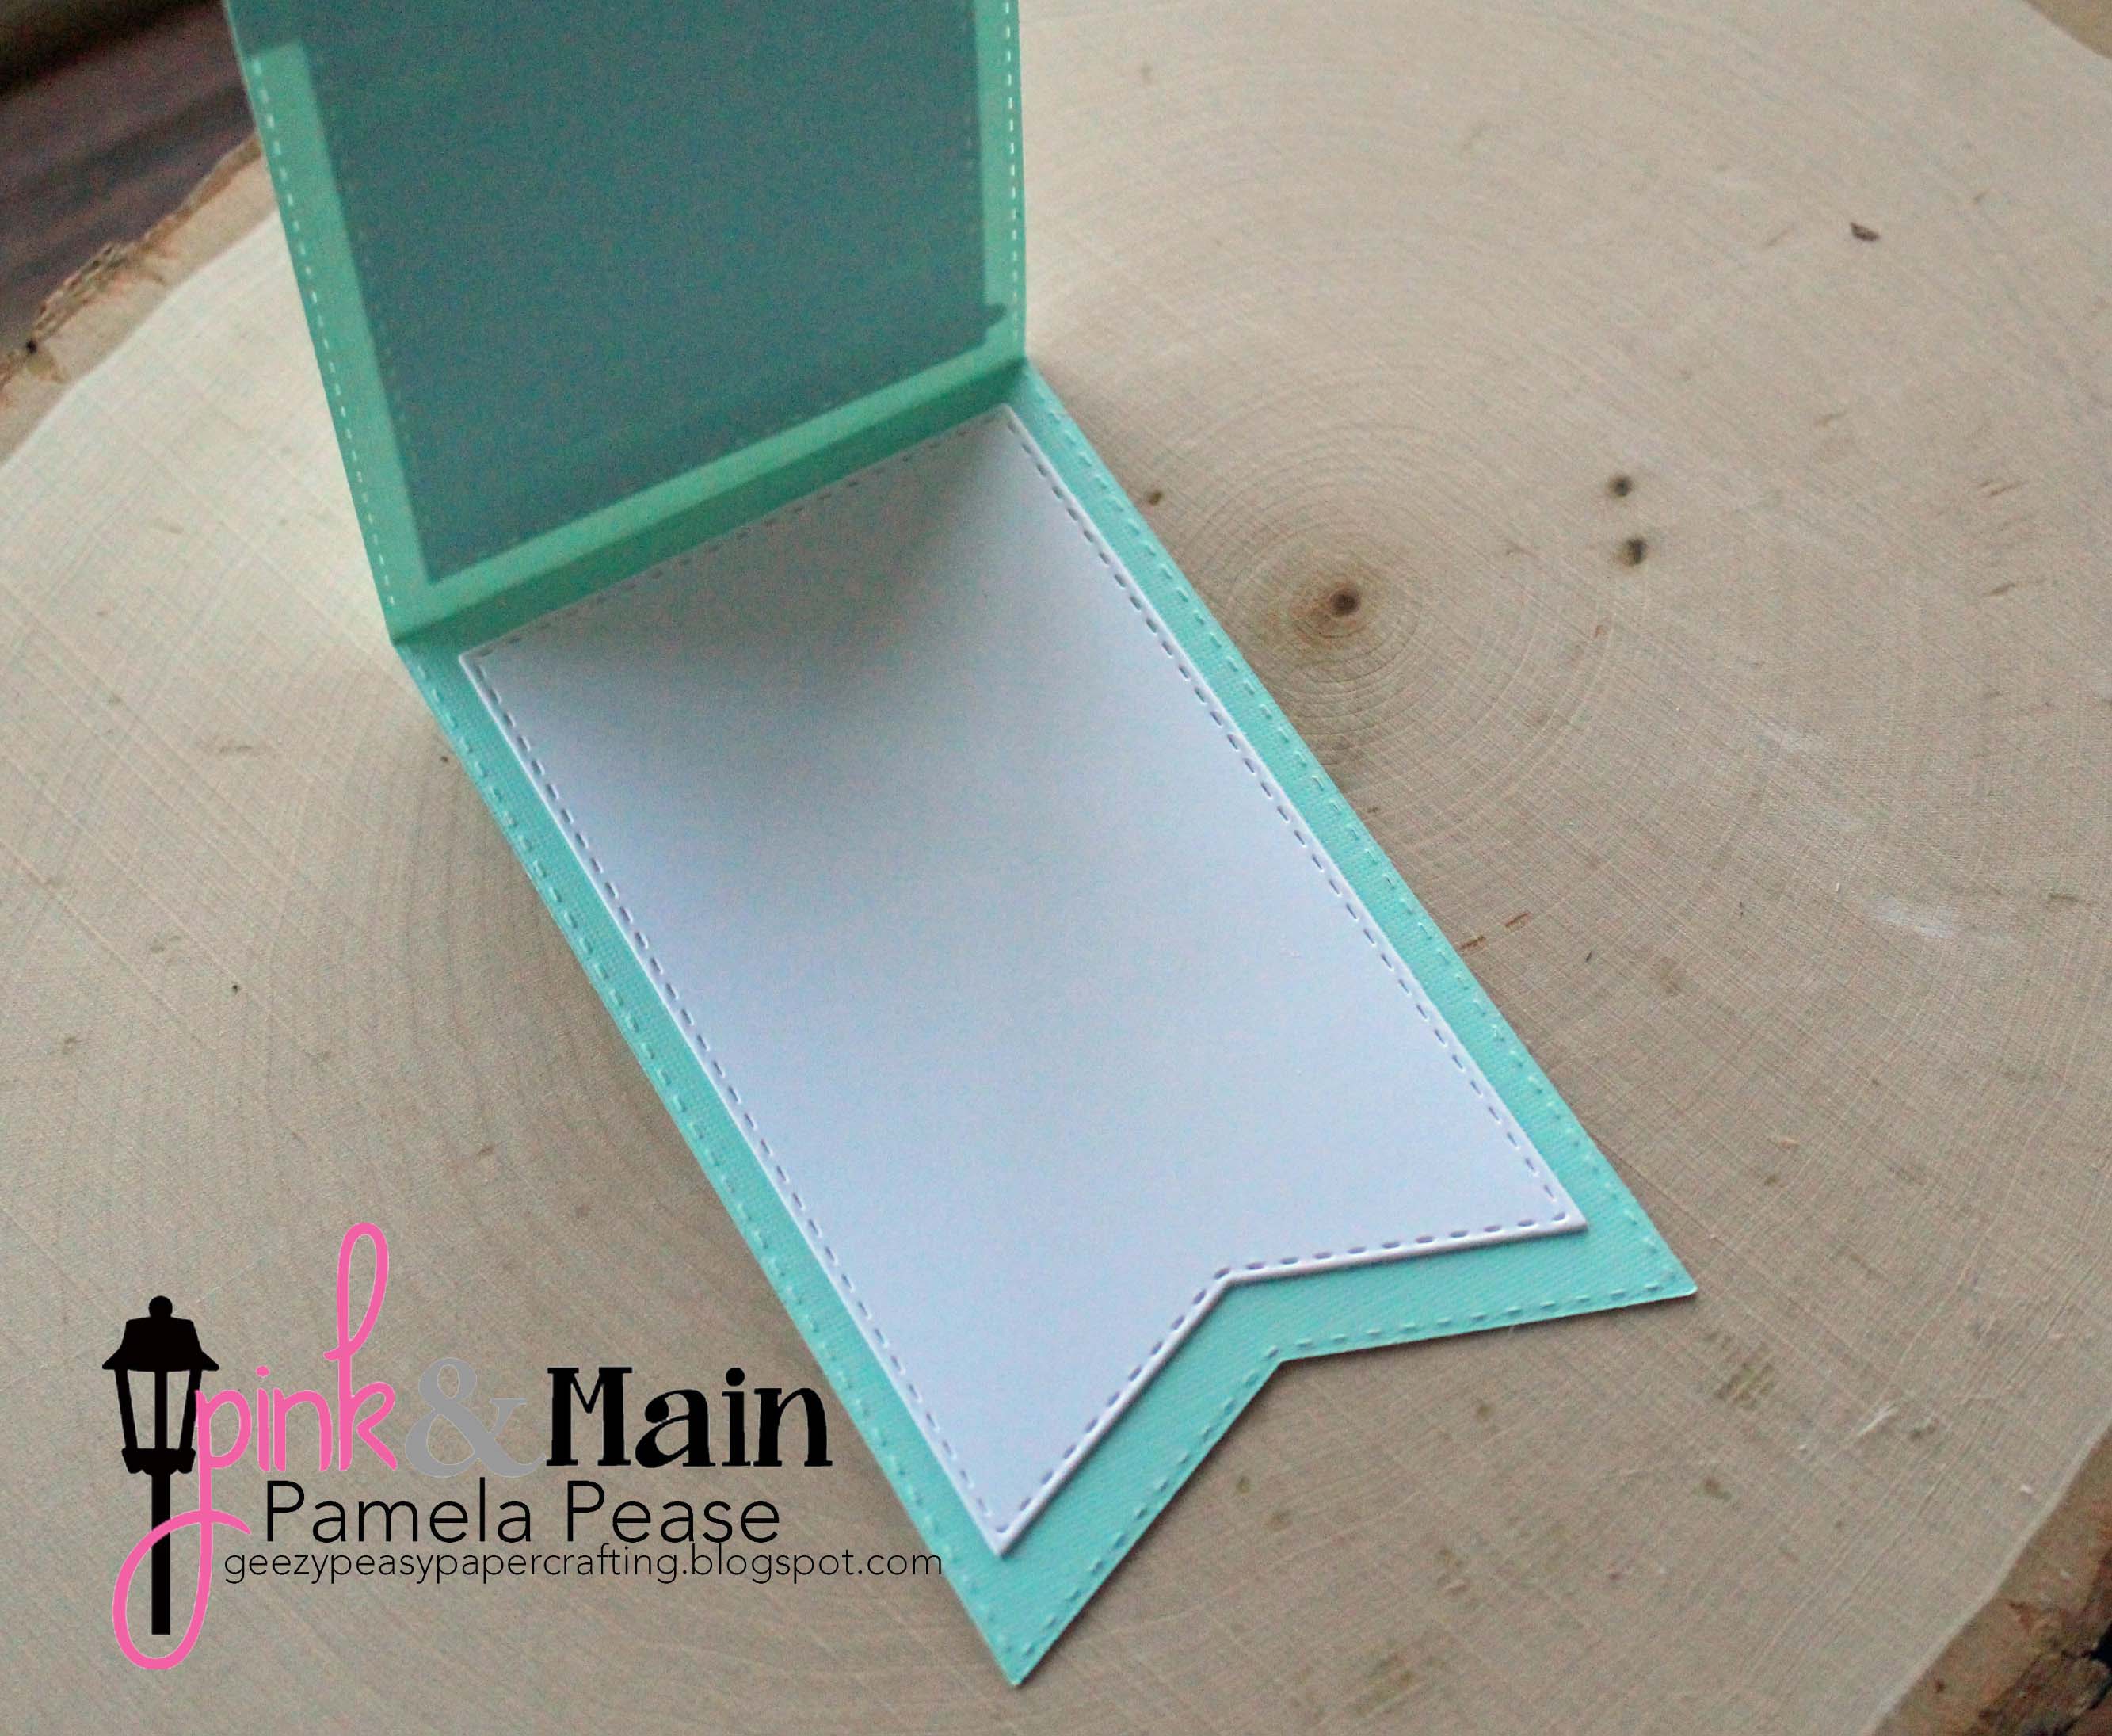
First I took the largest Pink and Main heart die and cut it into a card (folded the paper and placed the die just slightly inside the cut line). I used a peach color for one and kraft color for the other. I used P&M and other patterned papers to create the shirts and jeans. To help make the pockets look for authentic, I put two brads in each pocket. I also made sure to follow the outside stitching of the heart with black ink to tie it all together. The stamped goodies in the pockets were colored using my prismas. I put glossy accents on the phone and glasses for some dimension and used foam tape to pop the pockets off the jeans. The belt on the light jean card was a border die. The belt on the darker jean card was just a strip of paper I ran through an embossing folder to make it look more leathery. The belt loops were made using the die that comes with the set on the light card, and I free handed the loops on the dark one. Both will fit in a standard A2 envelope.


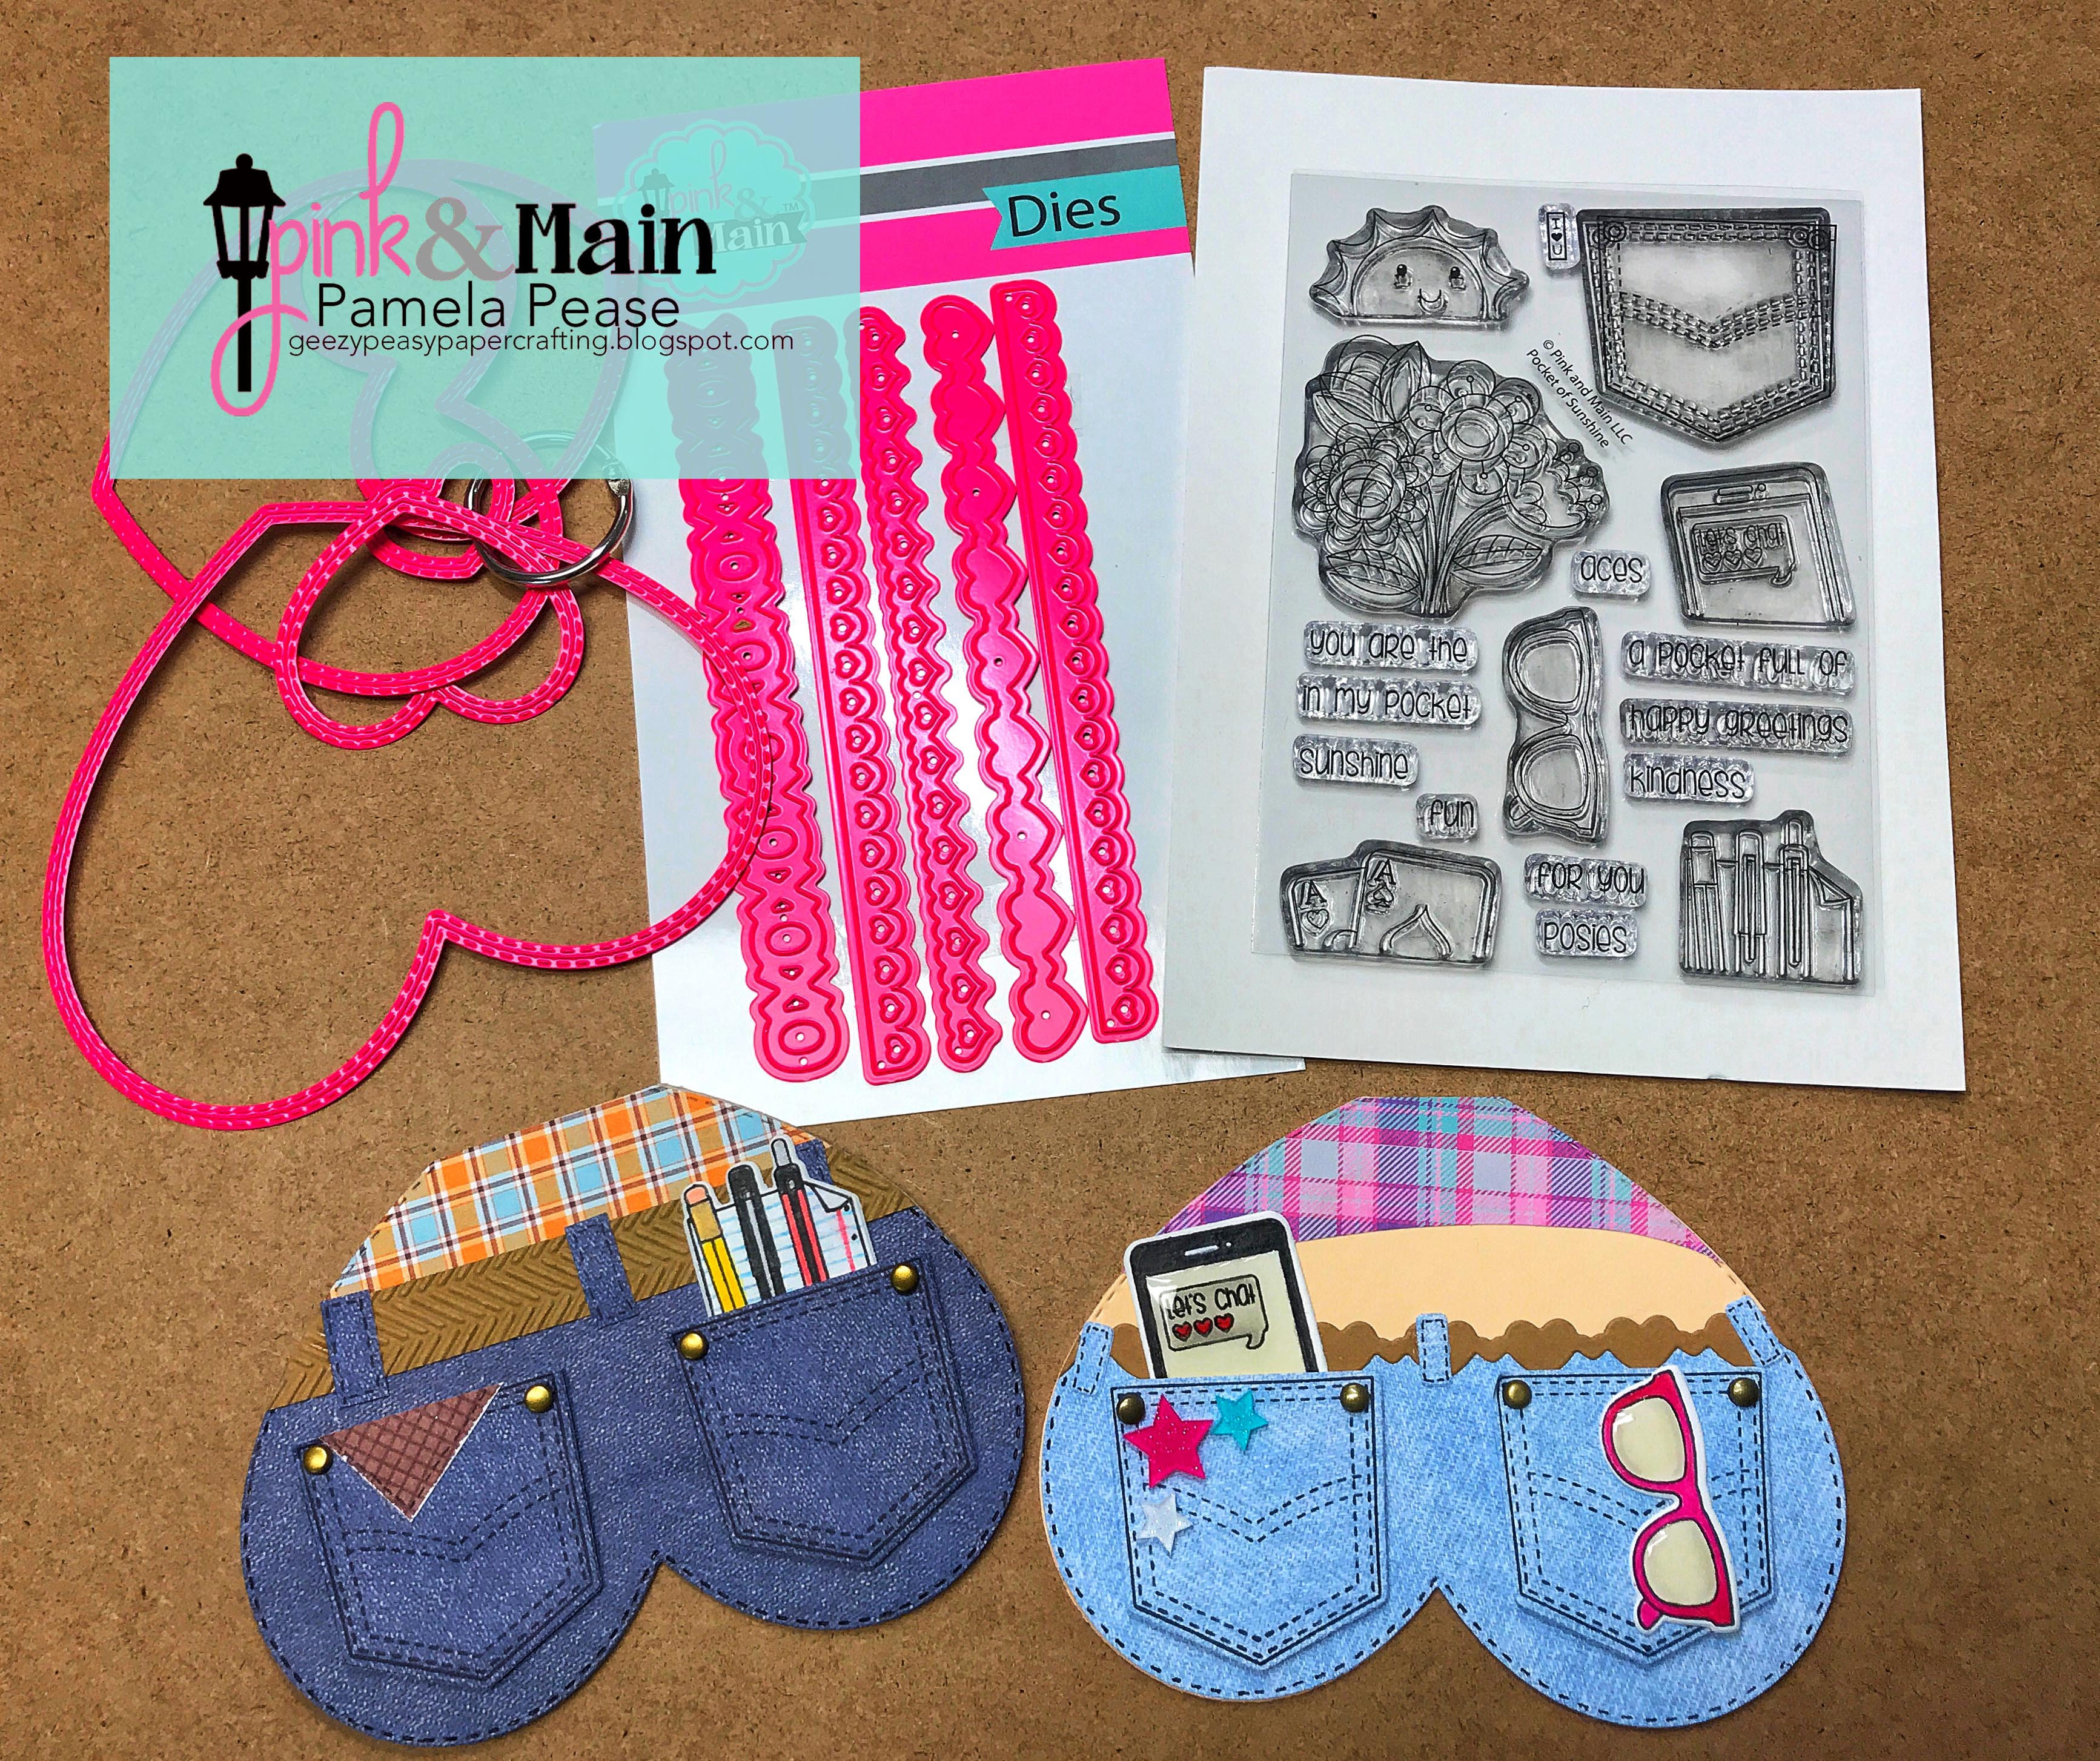
Pink and Main Supplies Used
Pocket of Sunshine, Pocket of Sunshine Dies, Heart Border Dies, Double Stitched Heart Dies, My heart 6x6 paper pad, Pumpkin Spice 6x6 Paper Pad
Other Supplies Used
Prismacolor pencils, gamsol, Star enamel embellishments (Hobby Lobby), gold brads
If you haven't checked out the newest release from Pink and Main you can go here. It is simply amazing!
Hope you enjoyed my cards.
Crafty hugs,
Pam Pease