background

Wednesday, February 28, 2018

We're a Perfect Blend card for Pink and Main DT

I have a sweet card to share with you using the new Perfect Blend stamp set from Pink and Main. I used lots of layering on this one to add dimension.
First, I stamped the adorable squirrels using Versafine black ink on Canson Watercolor paper.  I use Versafine ink when I'm water-coloring so it doesn't run. Make sure you heat set the ink with a heat gun for just a few seconds prior to water-coloring. I used my new watercolor marker pens and a paint brush. I love the softness water-coloring gives the images.


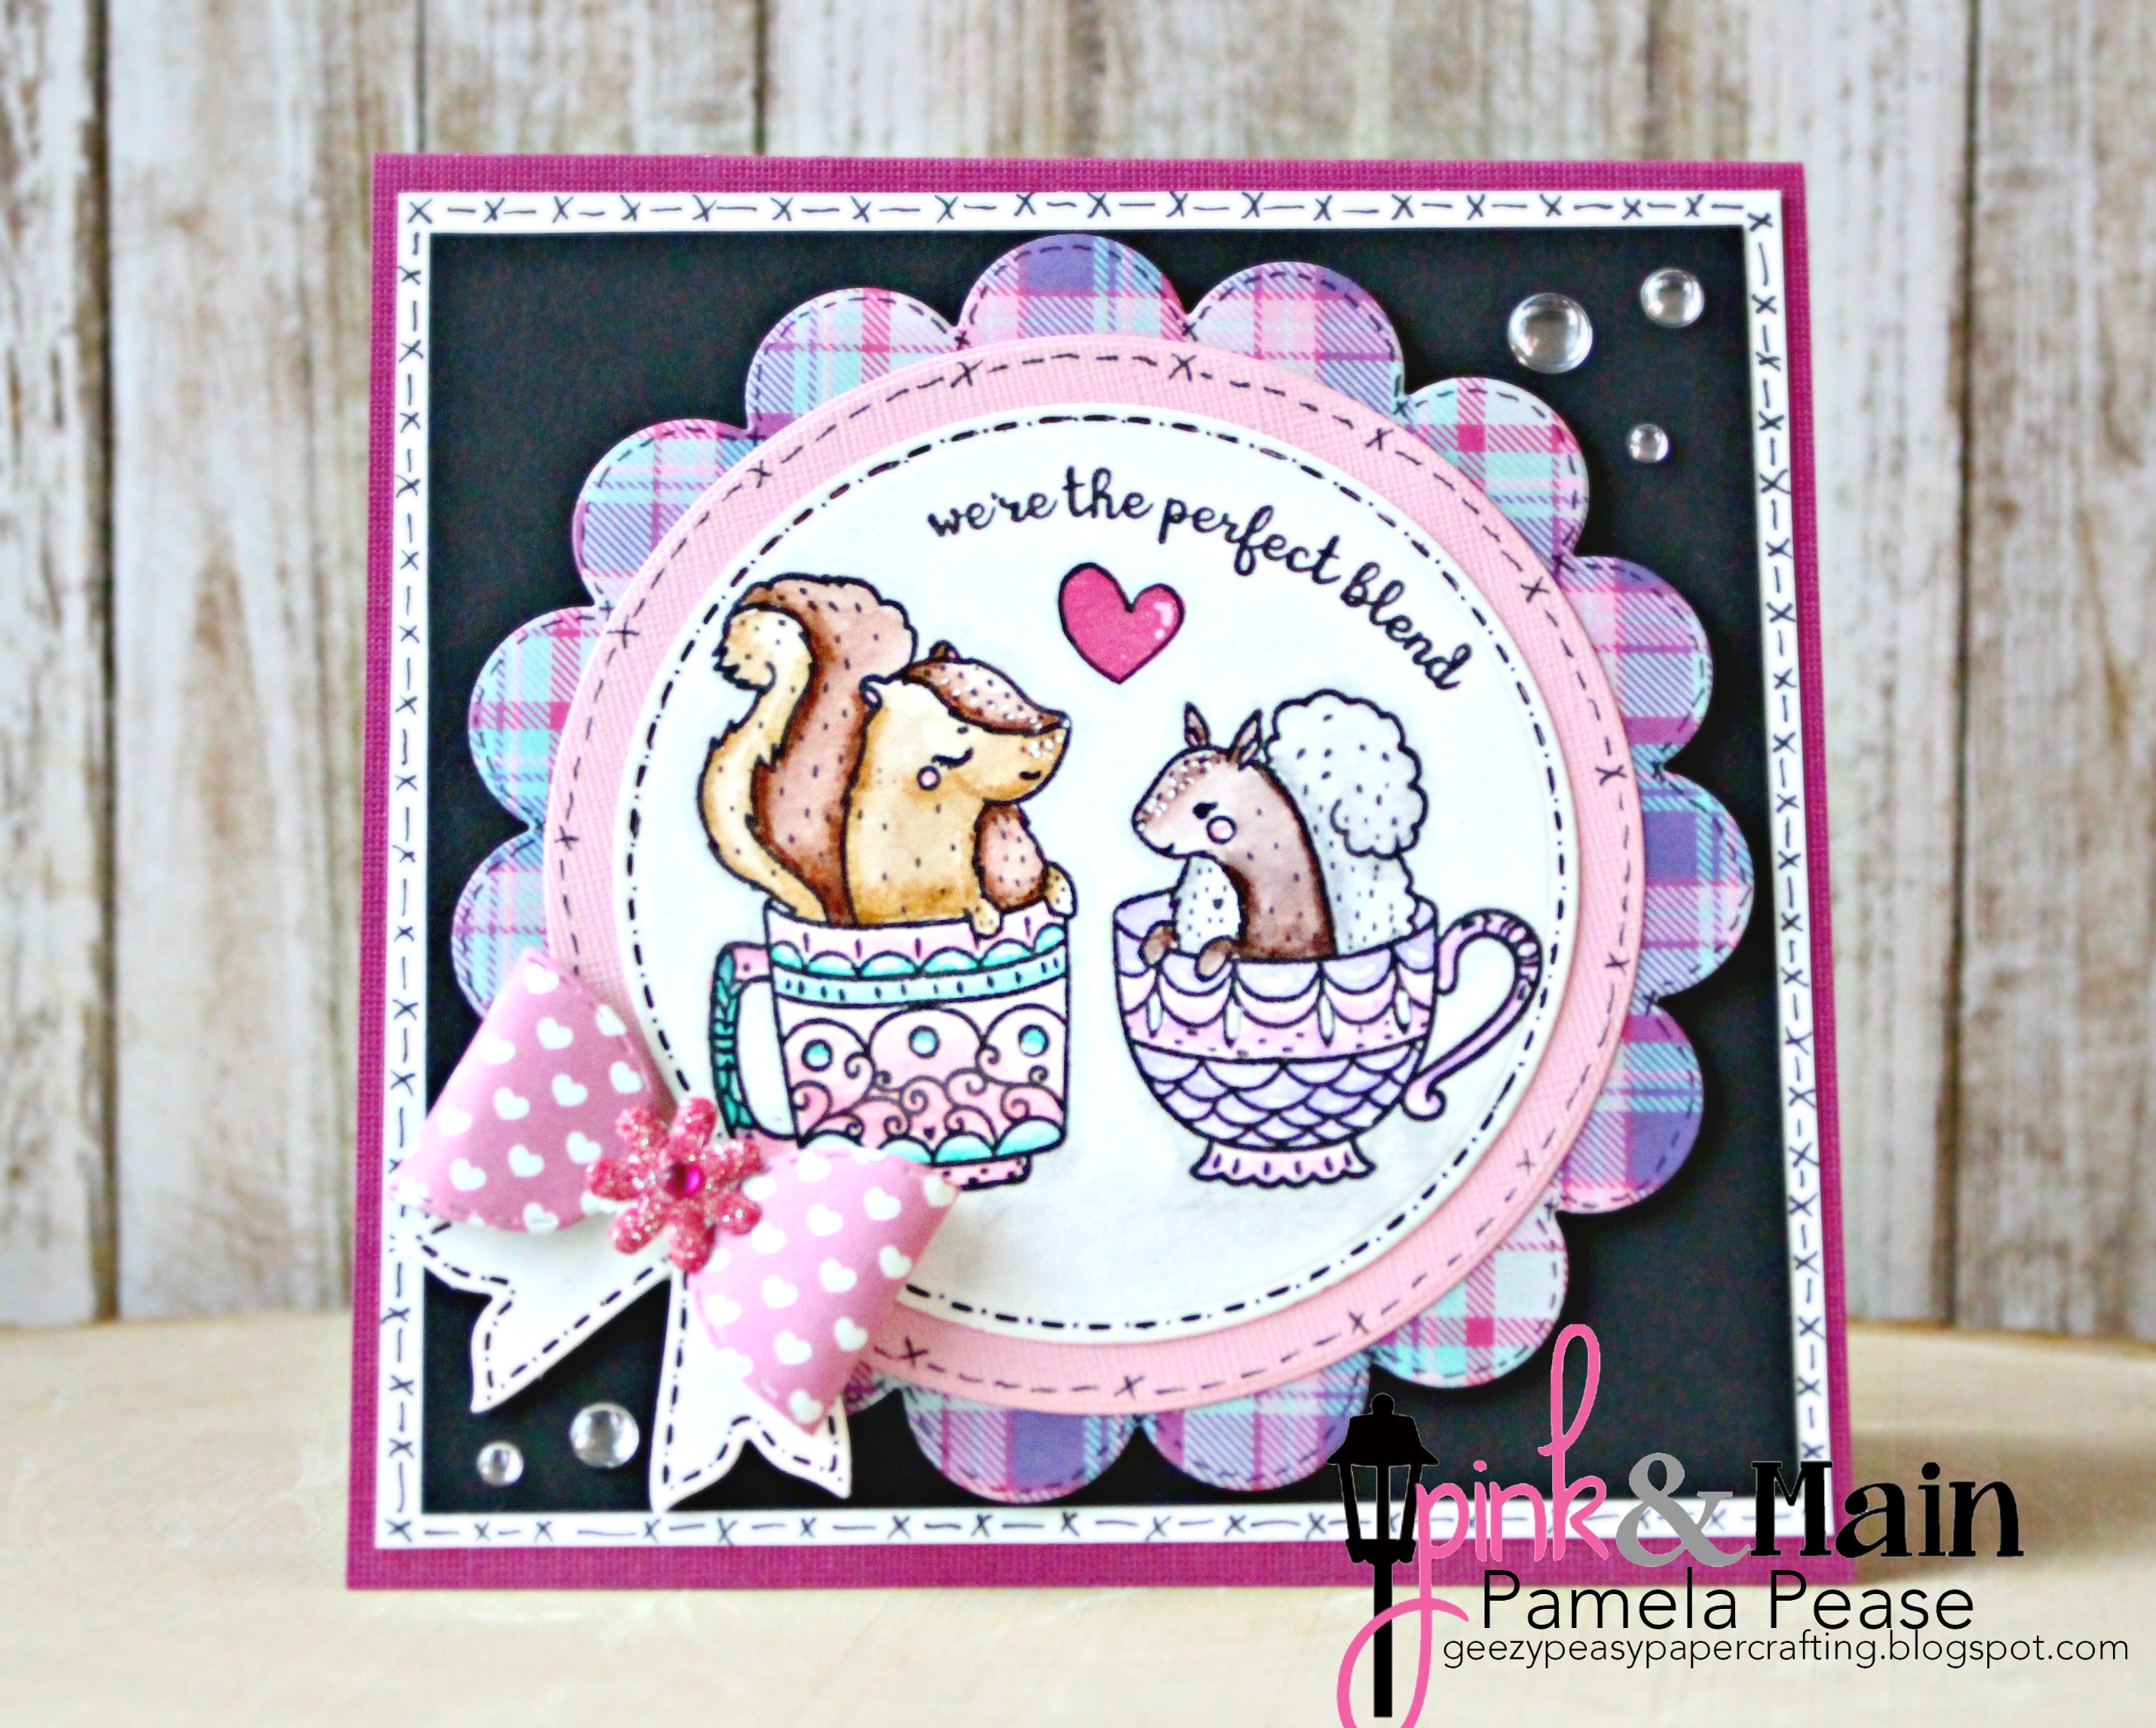
The base card is a square card (5.5 x 5.5").  I cut several layers using the P&M dies listed in the supplies list below.  The black stitching was achieved by my shakey hand.  To finish it off, I used one of our adorable bow dies and some new glossy dots. If you haven't tried the bow dies you are missing out! They come in three different sizes and are so fun and super easy to put together. A must in my card making supplies. :)


Thanks for stopping by!!

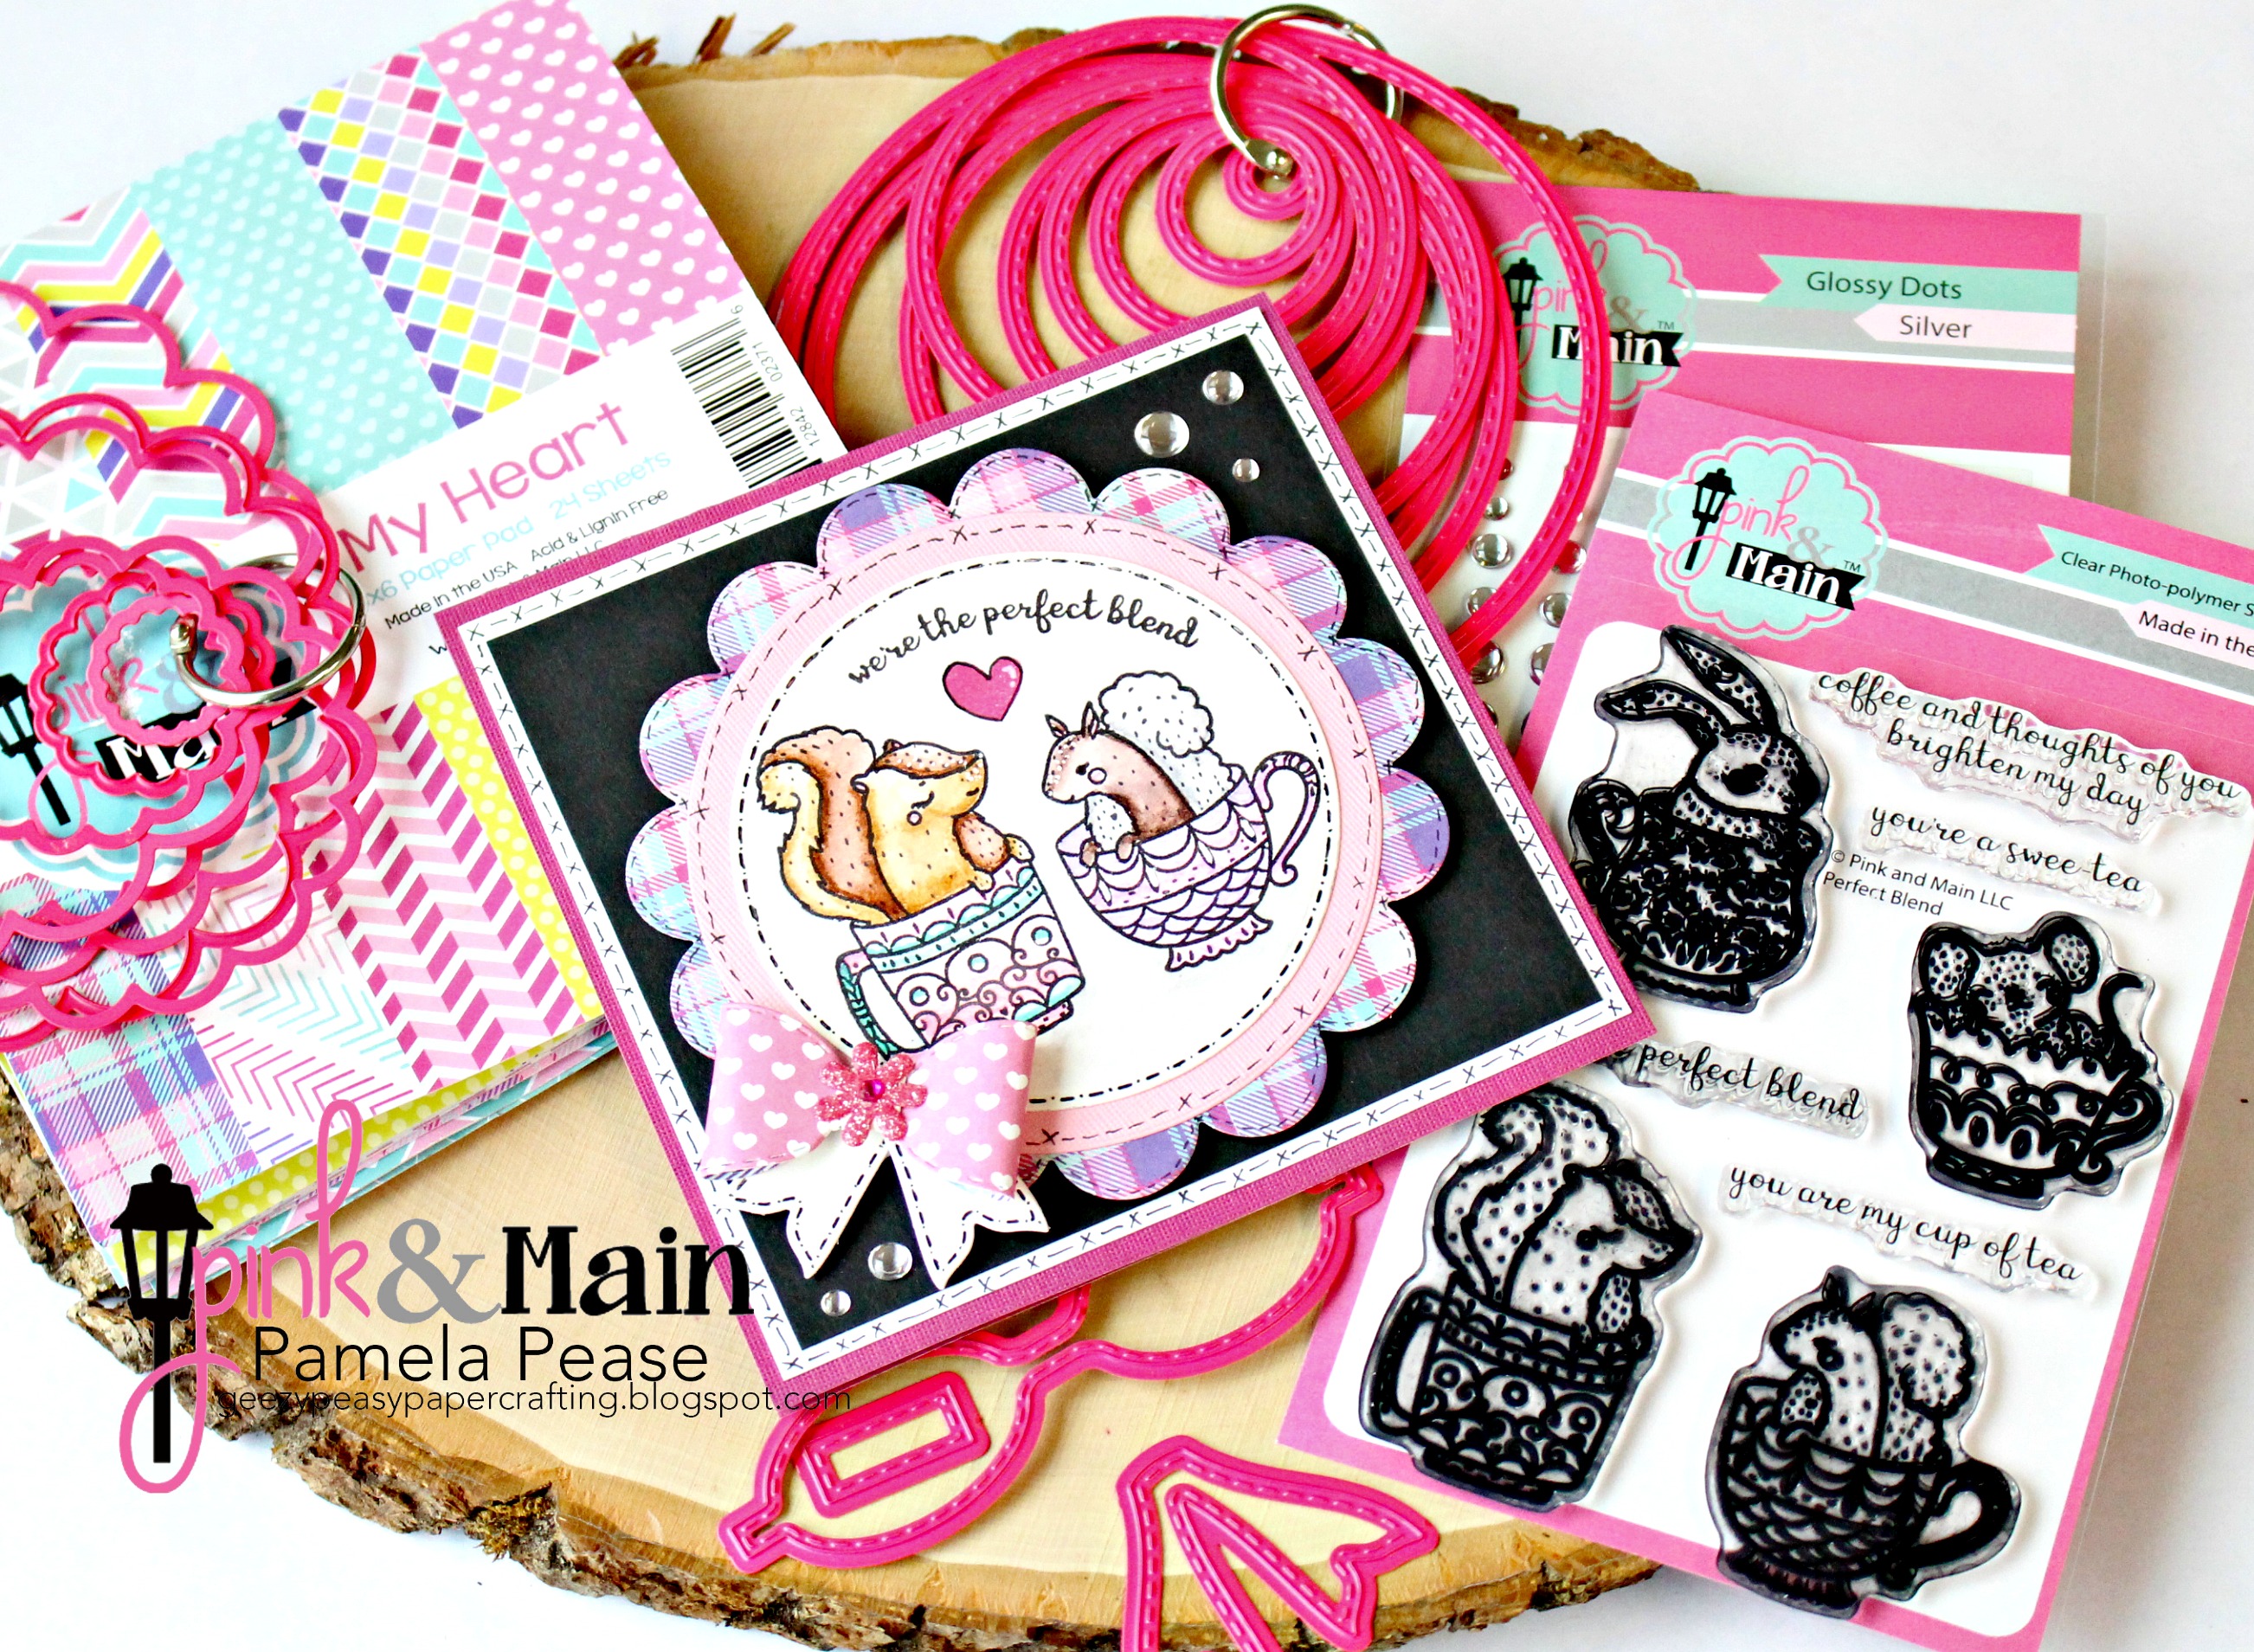
Pink and Main Supplies:
Scallop Circle DiesStitched Circle DiesPerfect BlendPerfect Blend DiesSilver Glossy DotsLarge Bow DiesMy heart 6x6 paper pad
Other Supplies:
Arteza water color brush pens, Canson Water Color Paper, Xyron Create-A-Sticker Maker

Hope you enjoyed the project.
Crafty hugs,
Pam Pease 😊

Wednesday, February 14, 2018

Who's Ready for Spring - Card for Pink and Main by Pam Pease

Who is ready for Spring?? Me, me, me!!! Today I am sharing with you a fun card using the newly released stamp set Joyful Easter for Pink and Main stamps. 
1. I used a pink A2 sized card. Adhered a 4 x 5 1/4 piece of patterned paper (Beach Babe paper stack),
2. Colored the bunny image using my new watercolor brush pens, watercolor paper, and paint brush. I drew in the grass at the bottom for some detail. I actually masked the Easter eggs to apply more on top then stamped just the little chick from the other image right on the tippy top. It’s a balancing act! Cut that out using our oval nesting dies. Which, by the way, are a really awesome investment. What I like about them is they are much more narrow then others I have seen. This can make for some cool and different cards.
3. Popped up the oval by running thin foam, three times, in a slightly smaller size through my Vagabond. Layered them on top of each other after running them through my trusty Xyron machine. No better adhesive to get full coverage. Also cut out an additional bunny head for a little pop. Finished it off with our new glossy dots…And voila…😊
As always the links are at the bottom of the page.


This shows how I cut out several foam ovals slightly smaller to help pop up the image evenly.


Pink and Main supplies used:
Additional supplies:
Hope you enjoyed the project. Please check out these and other amazing products at www.pinkandmain.com
Crafty hugs,
Pam Pease ðŸ˜Š

Wednesday, February 7, 2018

Rain or Shine Tag set

I am sharing another sneak peek of my latest project for Pink and Main, showcasing some new products coming February 10th! How cute are these little mice? I just love them. New adorable paper pad and glossy dots coming your way too! Oh, and my most favorite part…nesting tag dies! Don’t forget to check back at Pink and Main.
I can’t wait for you to see the whole release. It’s such a good one!


Thanks for stopping by!
Pam Pease
geezypeaseypapercrafting.blogspot.com

Heart Puzzle Gift

Hi there,
I created a fun puzzle with Pink and Main's soon to be released heart puzzle die cut, you can see some new paper coming, the most darling stamp set, and DRUM ROLL please……new glossy dots. These new products will be released Feb 10th! They are so cool in person. 

Below I show the easy steps to creating a fun puzzle to give to someone to color and enjoy. I thought this would be especially cool for a school valentine or for little ones.

Thanks for stopping by!
Pam Pease
geezypeaseypapercrafting.blogspot.com

True Love Card

Hello again,
I kept this one fairly simple, white card base and no pattern paper. Sometimes its nice to just create a simple cute card without a lot of fuss. I Pink and Main's amazing surface inks for the blue background and a white piece of card stock cut using their stitched rectangle dies. Those cute butterfly sequins you see are only available through Pink and Main’s stamp shows. Make sure you keep an eye out for them to be in your area.


I colored using my trusty prismacolor pencils and gamsol. The die cut “love” is one of Pink and Mains amazing word dies. I just snipped off the little swoosh at the end to make it a bit simpler and so I could fit the word “true” close to it. 
Pink and Main Supplies Used:
Additional supplies:
Prismacolor Pencils, gamsol, stickles, DCWV glittered pink paper, pop dots
Thanks for stopping by!
Pam Pease
geezypeaseypapercrafting.blogspot.com

Believe in Yourself Card

Hello! It's rainy and icy today, but the next few projects I share make me smile. First up is my "Believe in Yourself" card.


I created my own background paper! I used Pink and Main's Starry Night Stencils, Inks and WOW! Embossing ink and PowdersTo achieve this I stuck a piece of white card stock down with masking tape (to hold it steady), used a brush and applied the 4 different colors of our Surface Inks, pressed the WOW! Embossing pad firmly on top, removed the stencil, and sprinkled on the most beautiful clear sparkle embossing powder by WOW! The picture does not do it justice. It is very vibrant and sparkles beautifully.

I also created clouds on one of our double stitched heart dies. I took a picture below of how I cut out one of our scallop border dies and used that and Sunny Sky Surface Inks to create the clouds. Easy Peezy!


Oh, I colored using my trusty Prismacolor pencils and gamsol again. If it’s not broke don’t fix it, right! ðŸ™‚
Check out www.pinkandmain.com for these and other new products.

Thanks for stopping by!
Pam Pease

geezypeaseypapercrafting.blogspot.com